- Arts and Crafts, Gardening adventures, Humor, Permaculture and Edible Forest Gardening Adventures, Water Saving
Remodeling the Outdoor Sink
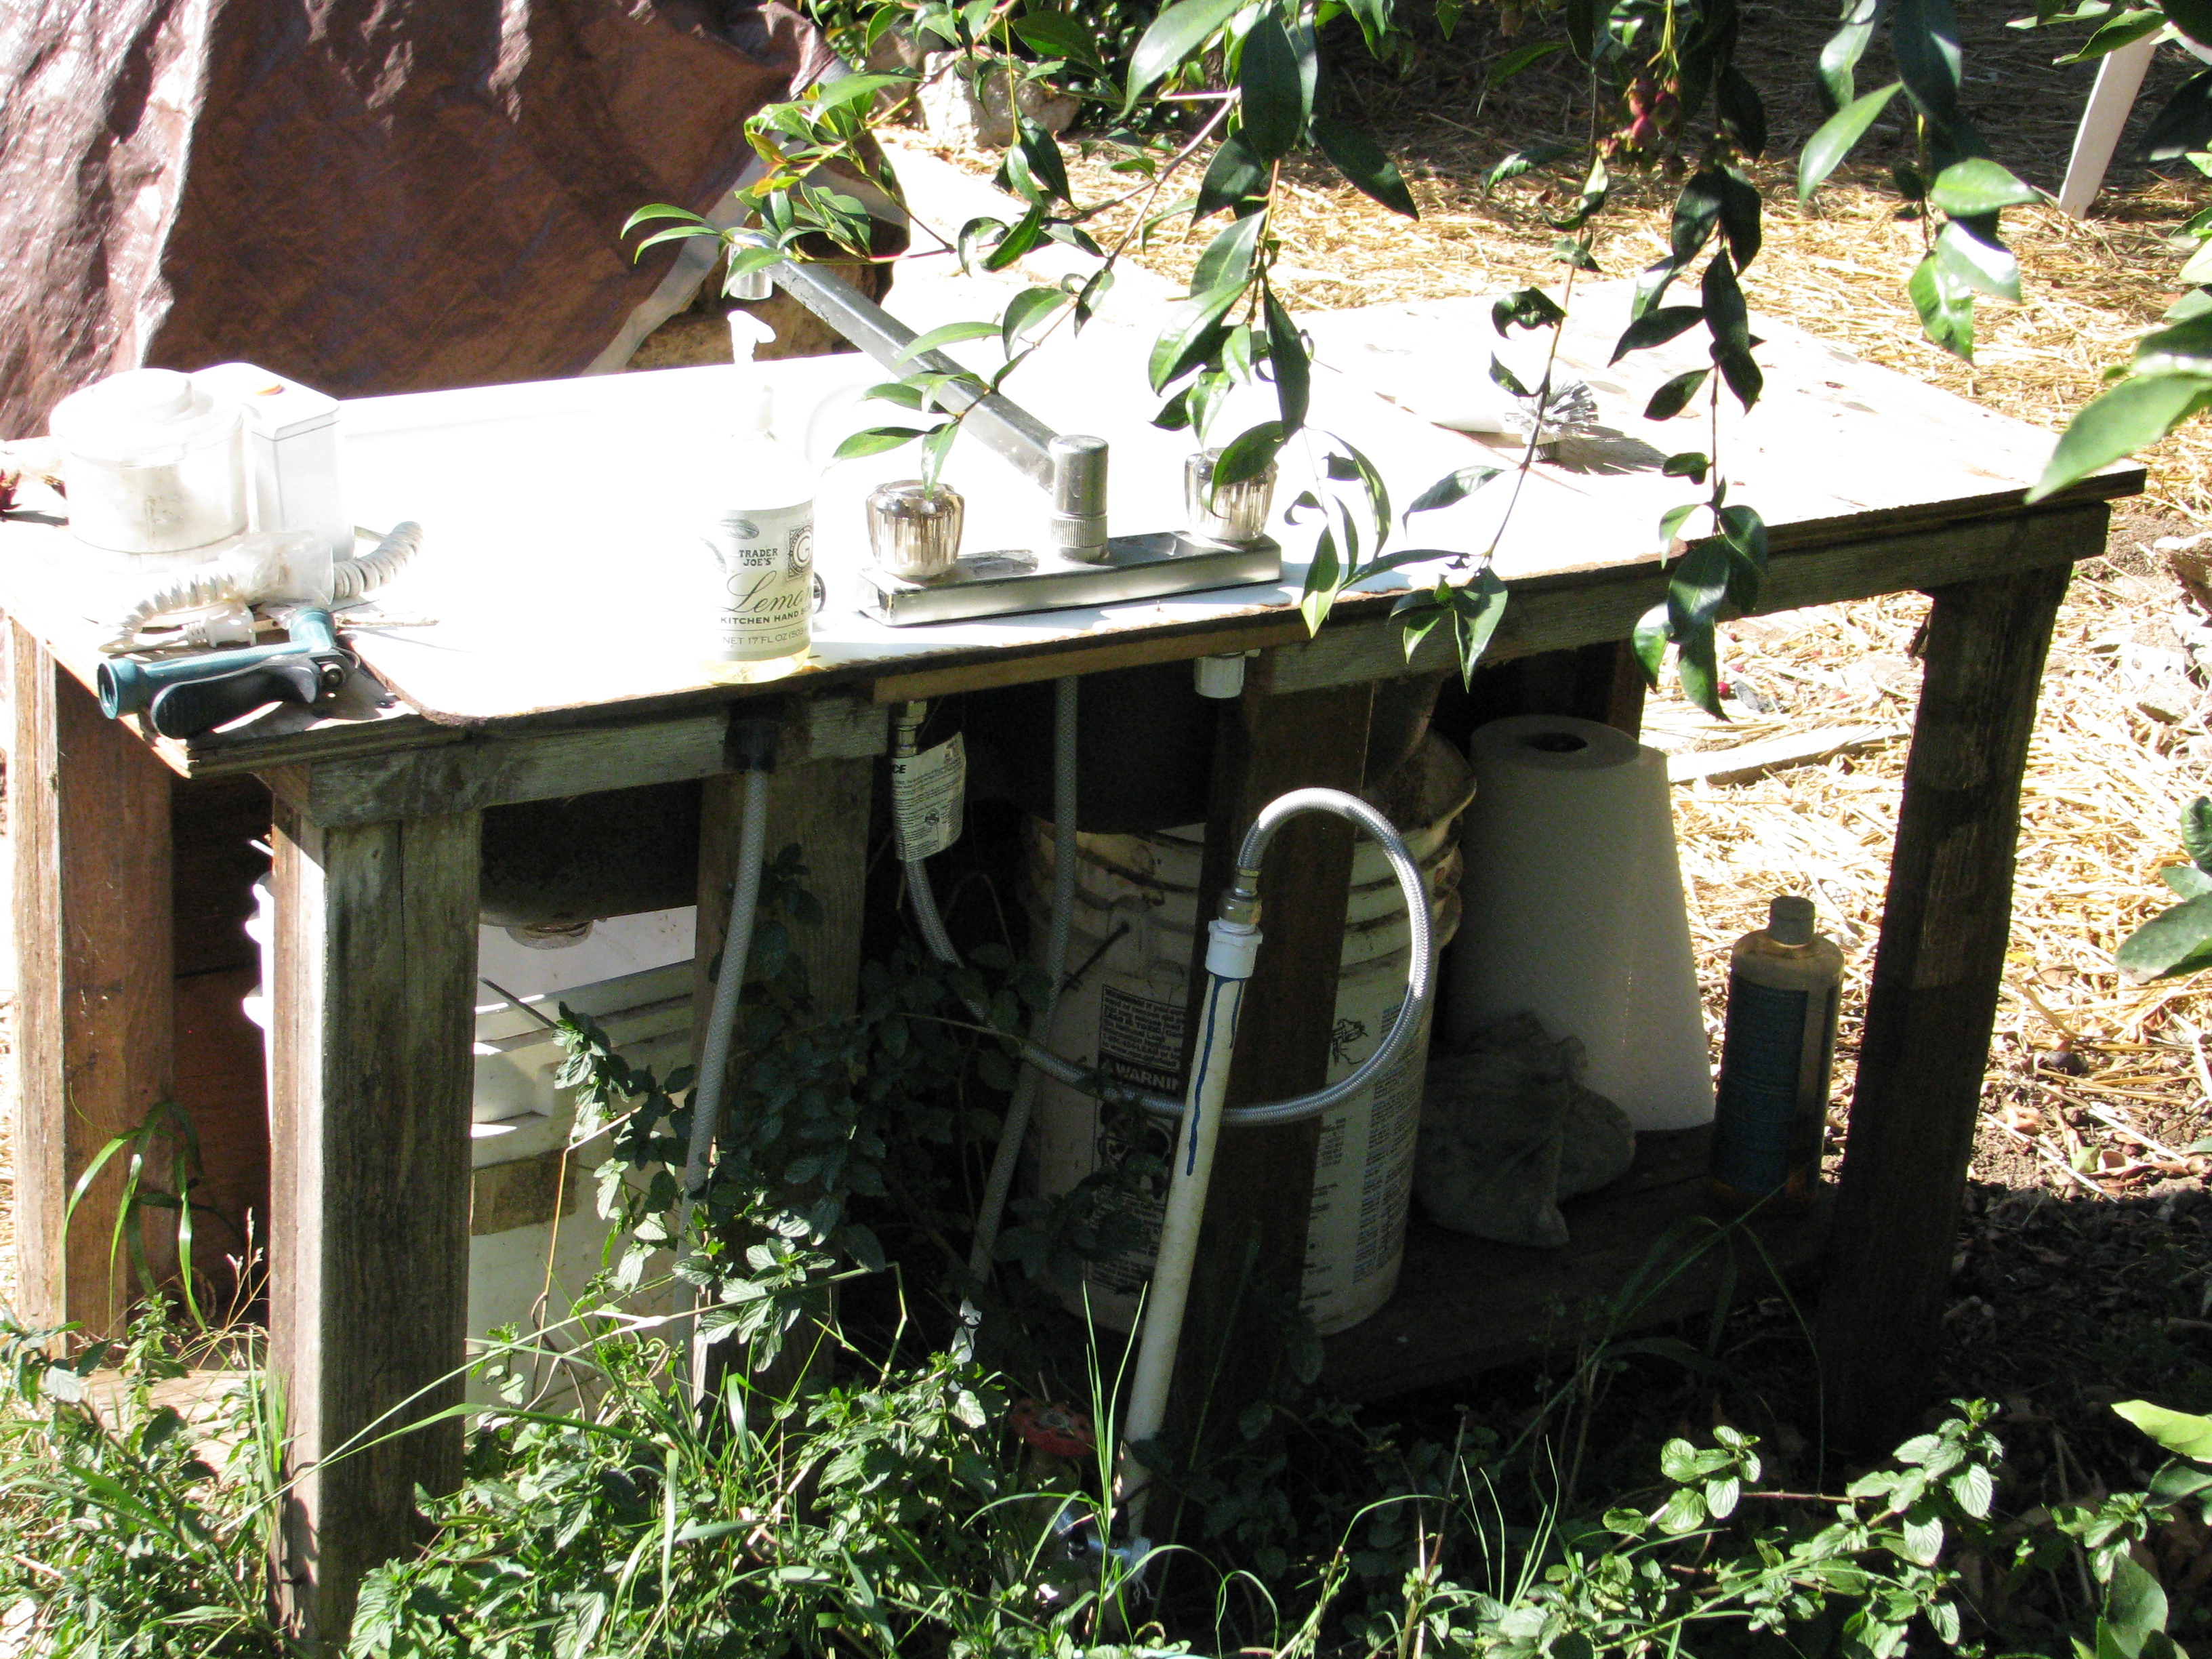
I’m thrilled with my outdoor sink. I love it. It is my friend. It is my old kitchen sink, stubbornly hauled around the property until I finally was able to put it on an old fishtank stand and hook it into the waterline out in the garden. Even better, Steve, who used to work here and who was responsible for the Mock Pavilion, modified the stand so that the sink fit down into it more securely. Any water used would be caught in buckets underneath (with long sticks in them so that any creature that falls in can crawl out again), which I would pull out and empty.

The buckets are just another heavy thing with which I had to deal. There had to be another way. A problem with the sink being set down into the stand is that the underside of one of the drains now sat slightly into a bucket, so I’d have to tip the bucket to get it out. Wrestle it out would be the better term, usually becoming wet with old sink water in the process. Throwing a 5-gallon bucket of water somewhere lost its charm quickly, especially as I was the only one emptying, but not the only one filling. Something had to be done. When I made the area next to the Fowl Fortress into an apple tree guild, I now had an area which could use extra water. The sink needed to be moved. Last week I finally did it, and I have to say, I’m pretty smug about how.
I am a disaster with a saw, but I’m pretty experienced with old PVC pipe and Red Hot Blue Glue (all those sprinklers I’ve mowed down over the years). I leveled a place next to the coop and placed some old plywood on it, both to help steady the sink stand and to keep weeds down (and to use up the plywood).

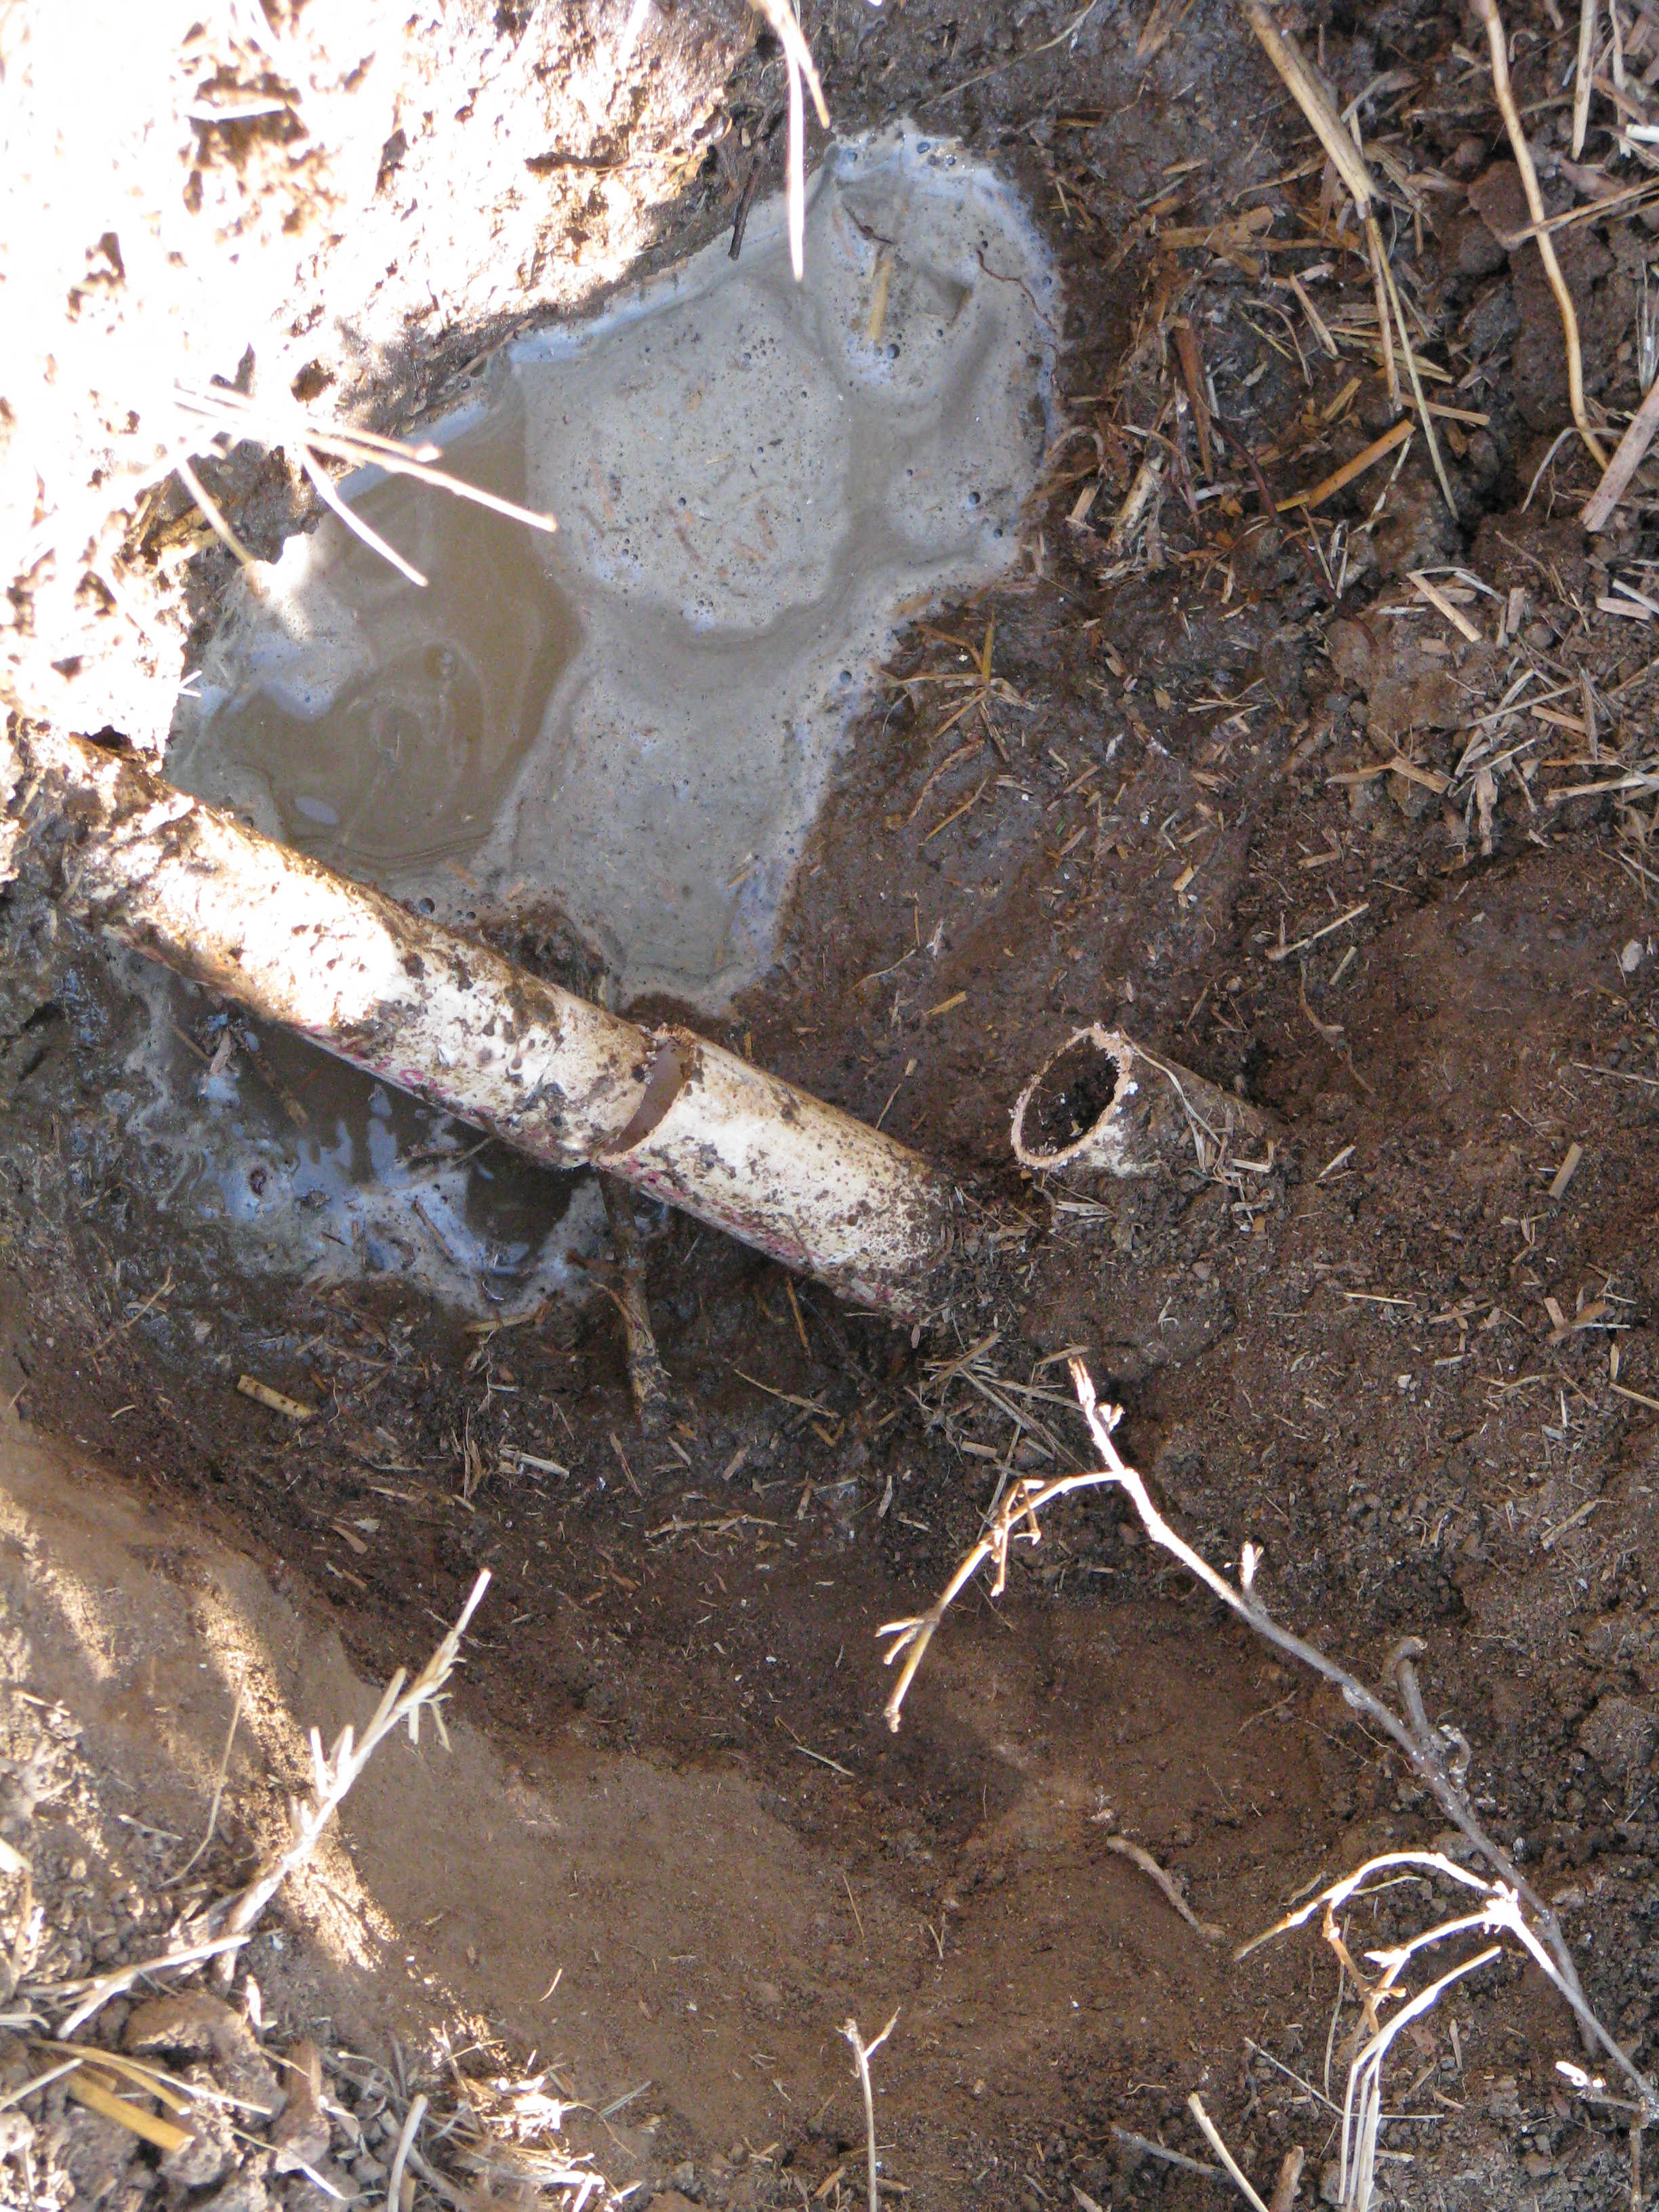
I dug up the water line and placed plywood on a leveled area. I dug up the water line, turned off the irrigation water, opened other faucets to drain and then cut into the pipe. Then I discovered the real pipe beneath this old dry one, and dug it out and cut into it, allowing it to drain as well before connecting a tee.
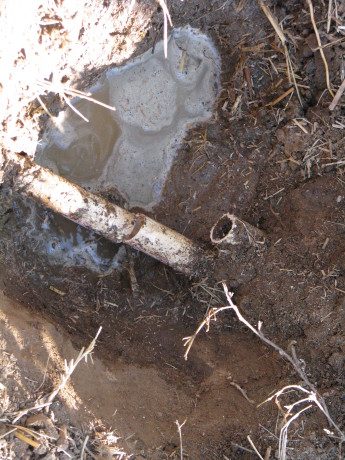
Beneath the old pipe was the real one. The hens were all pressed against the side of the coop trying to see what I was doing, and desperately wanting to search for bugs in the dirt I’d just dug up. Sorry girls.
I laborously walked the rather heavy and unevenly weighted stand (the sink isn’t in the center) over to the plywood. Then I walked it off again, adjusted, and walked it back. Then I adjusted again. Then I had a sit-down and wondered what my chiropractor was going to say.
Now came the fun problem-solving part. The drains from the sink were open, so how to catch water and send it off into the guild, without spending a bunch of money? The vision came to me from out of the blue: plungers. Some people have visions of how to earn lots of money, others have visions of how to change the world for the better. My imagination provides me with plungers. Yep.
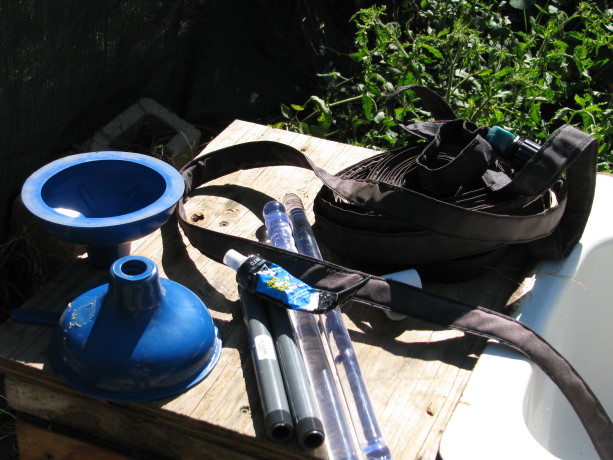
Supplies. I learned from my collegiate daughter, and the hardware store cashier, that plungers were nicknamed ‘magic wands’. No matter how much I learn each day, I’m always in the dark on the important things. However, I felt pretty proud of myself and was excited to get started. I rooted through my barrel of old PVC left from the former owners (I’ve lived here over 14 years and the PVC was already old then) and through my fittings. I only needed a couple new fittings and the plungers from Joe’s Hardware. The plungers had blue cups and clear handles, not the wooden-handled, black-cupped manly plungers of my imagination. If wizards had plungers, I could see them using these. Well this would be a female version and blue is my favorite color.
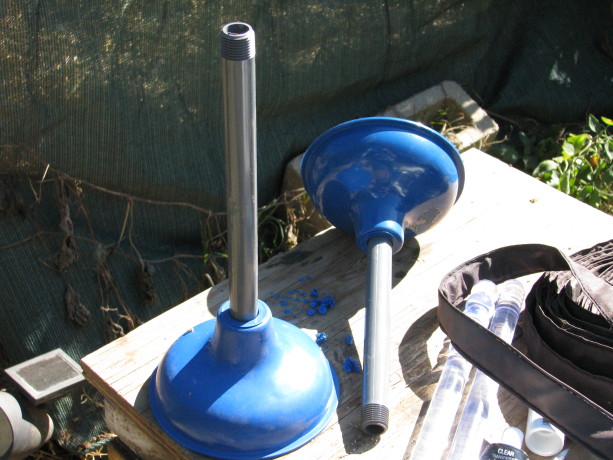
I screwed in threaded 1/2″ risers and tried them as is, but they leaked, so I put silicone gel around the threads and tried again. It worked after the gel dried. Knowing that the thread of the plunger handle wasn’t the same thread as a PVC riser (how do I know these things? Am I channeling some long-dead plumber??) I grabbed silicone sealant I had recently purchased to seal up leaks in a small fountain so that it would work during garden tours (the sealant worked, but then the motor failed. Sigh.)
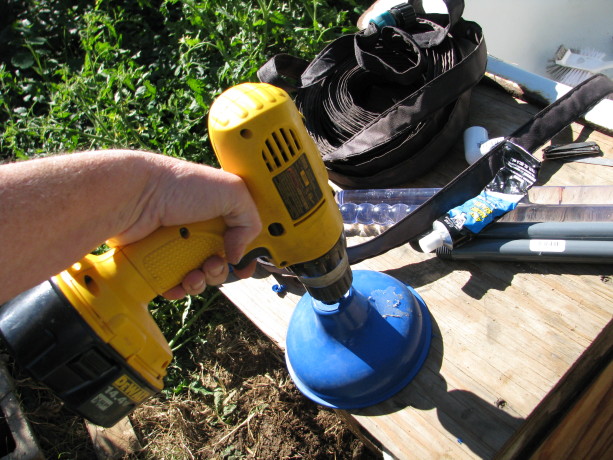
Drilling drain holes in the plunger cups. I had expected to find plunger heads and handles sold seperately, and remembered seeing plungers with threaded holes all the way through. I must have been flashing back to the cheap supplies offered to the parks department when I was a Ranger because all I found at Joes were complete, and the holes were covered (better suction). I drilled through the rubber to make the drain hole (which created some very cute blue rubber curls).
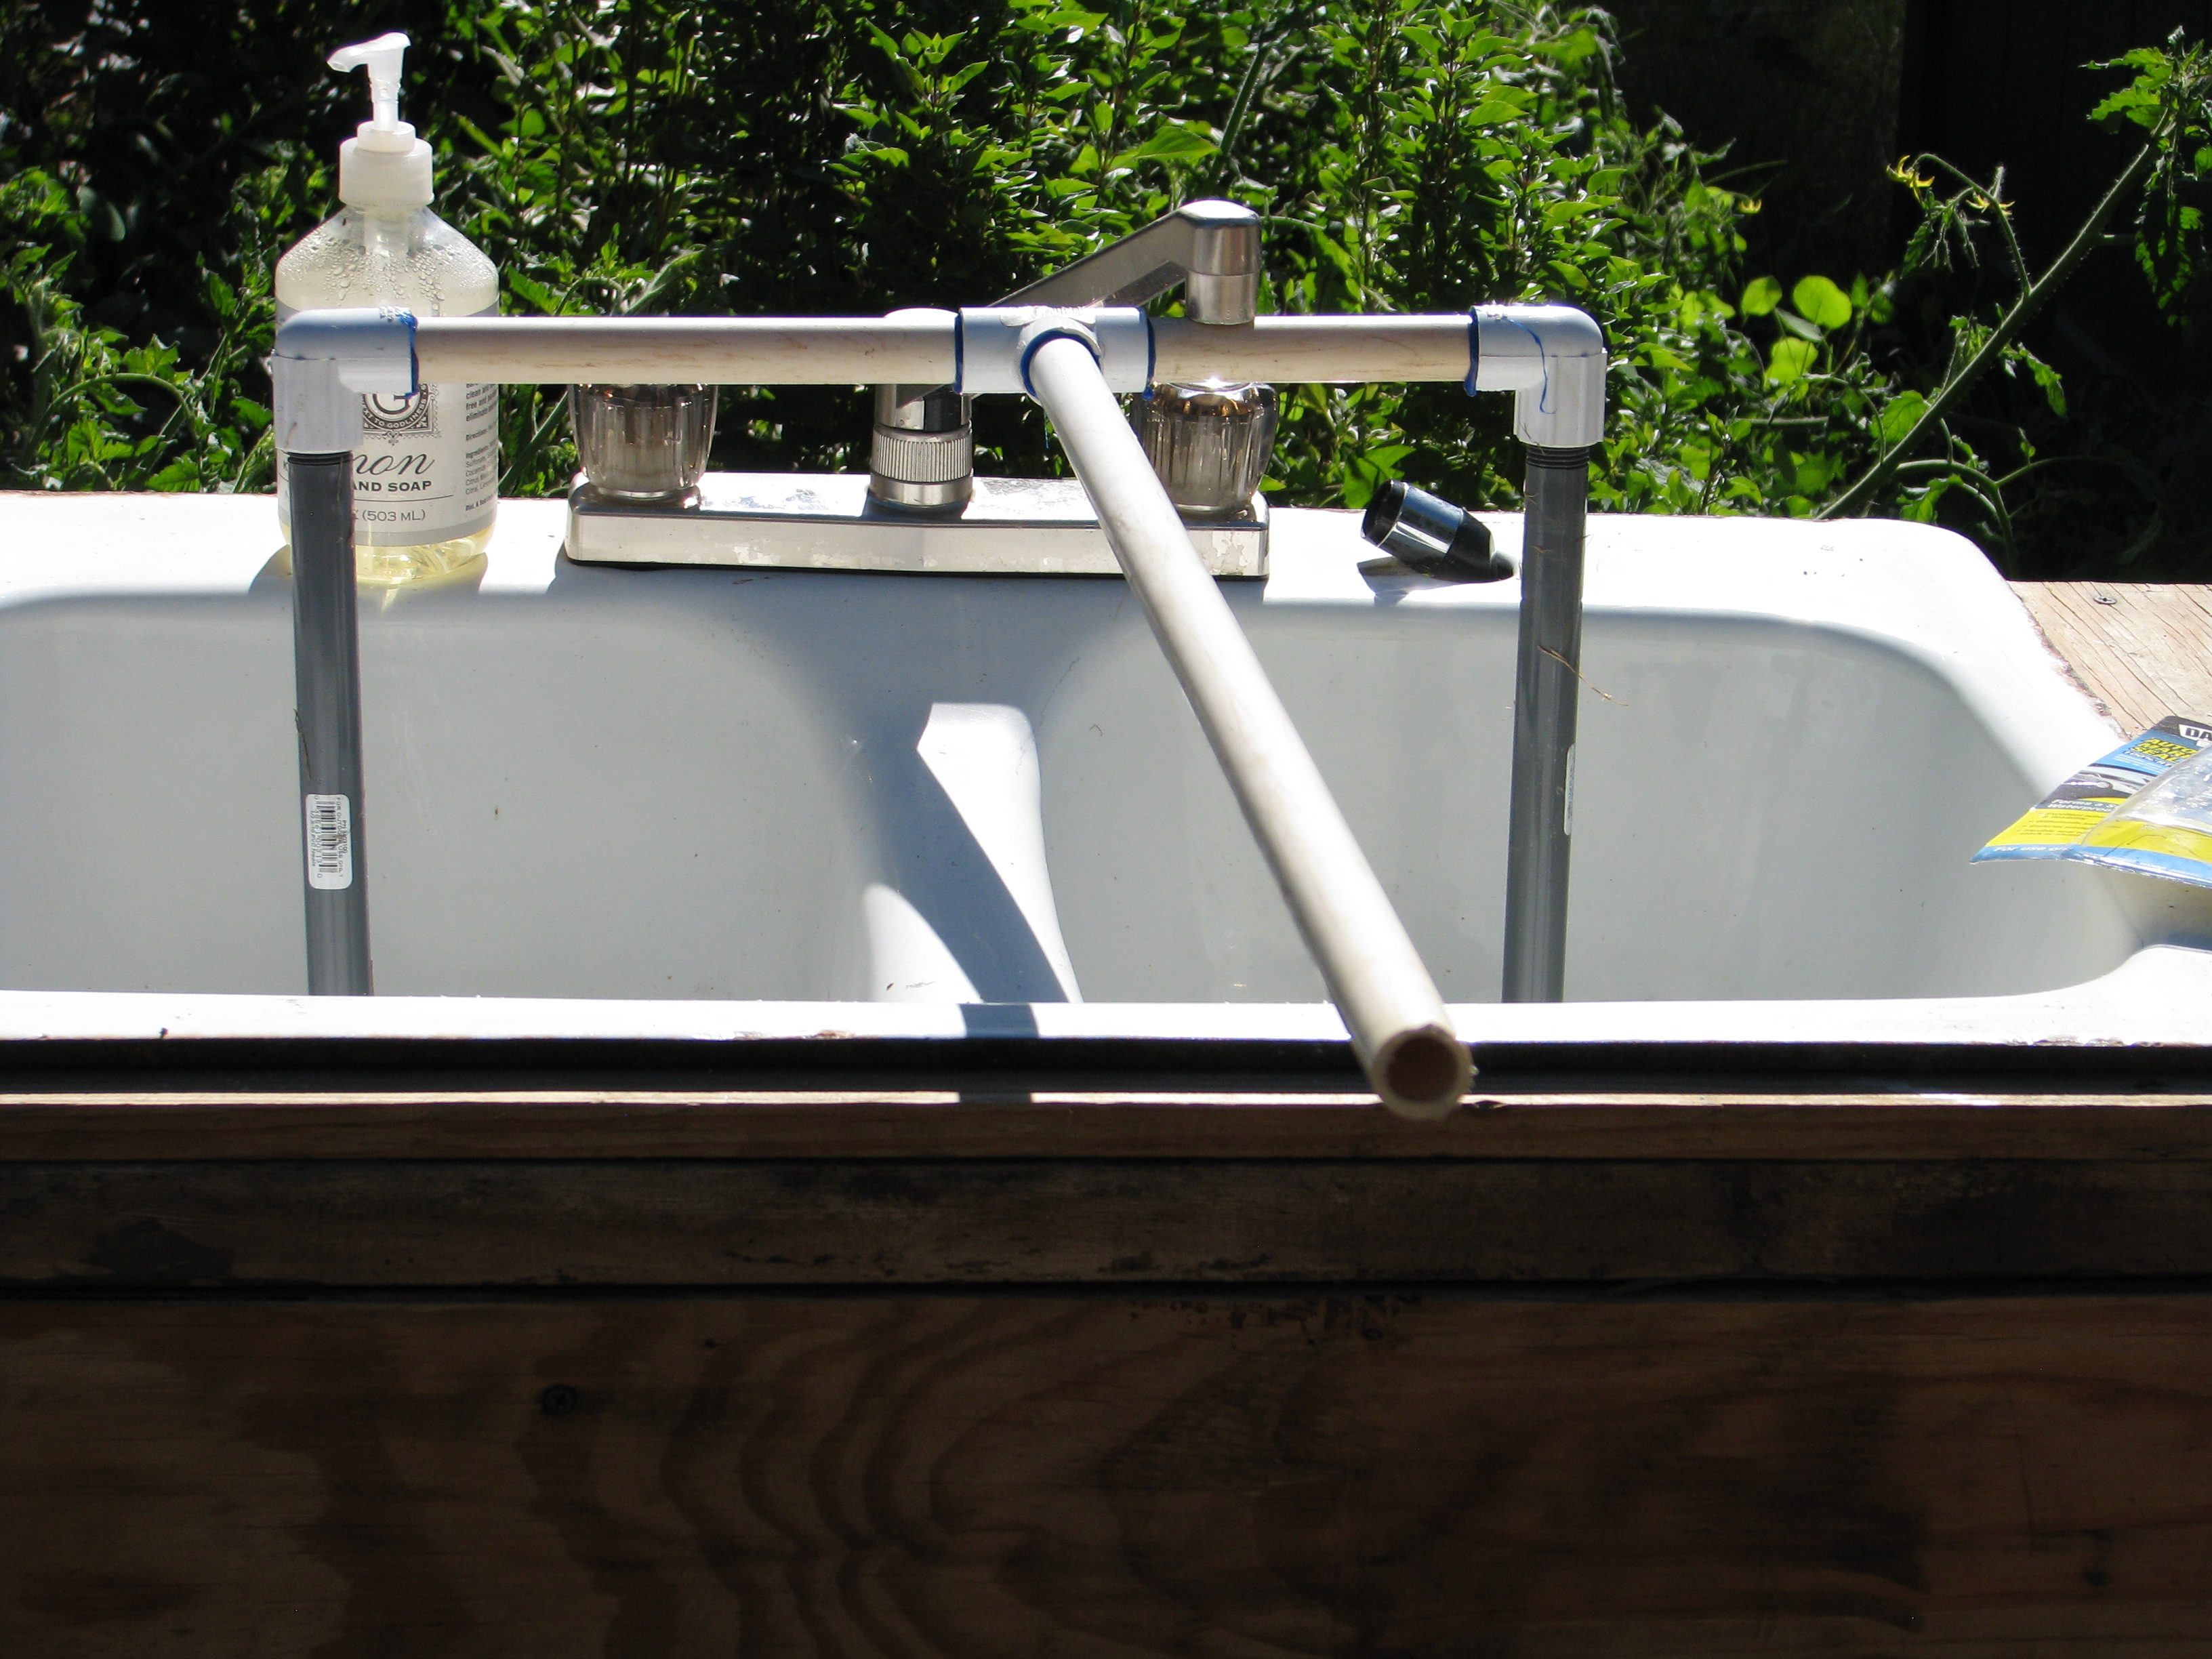
I connected up most parts, but then came the challenge, to space the plungers the correct distance apart, and measuring is not my thing. It seems simple, but it never works for me. My ginko must have kicked in, though, because I realized that I could just place the plungers over the sink holes on top and build it up there, and of course it would be the correct distance underneath.
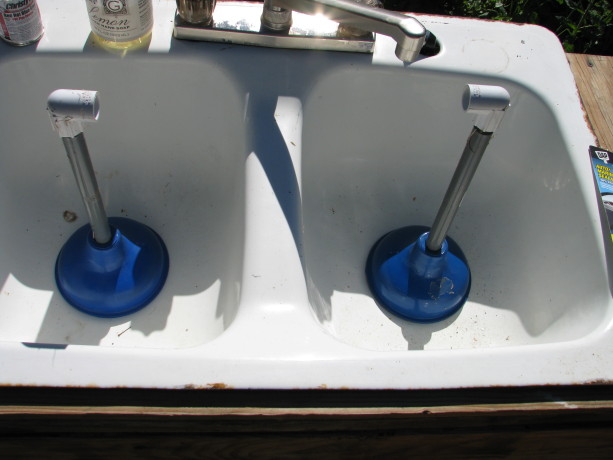
Ha! I didn’t have to lay in the tomatoes and work around the legs in the back! I could do it on top and still get the length right. I’m still proud of figuring that out.
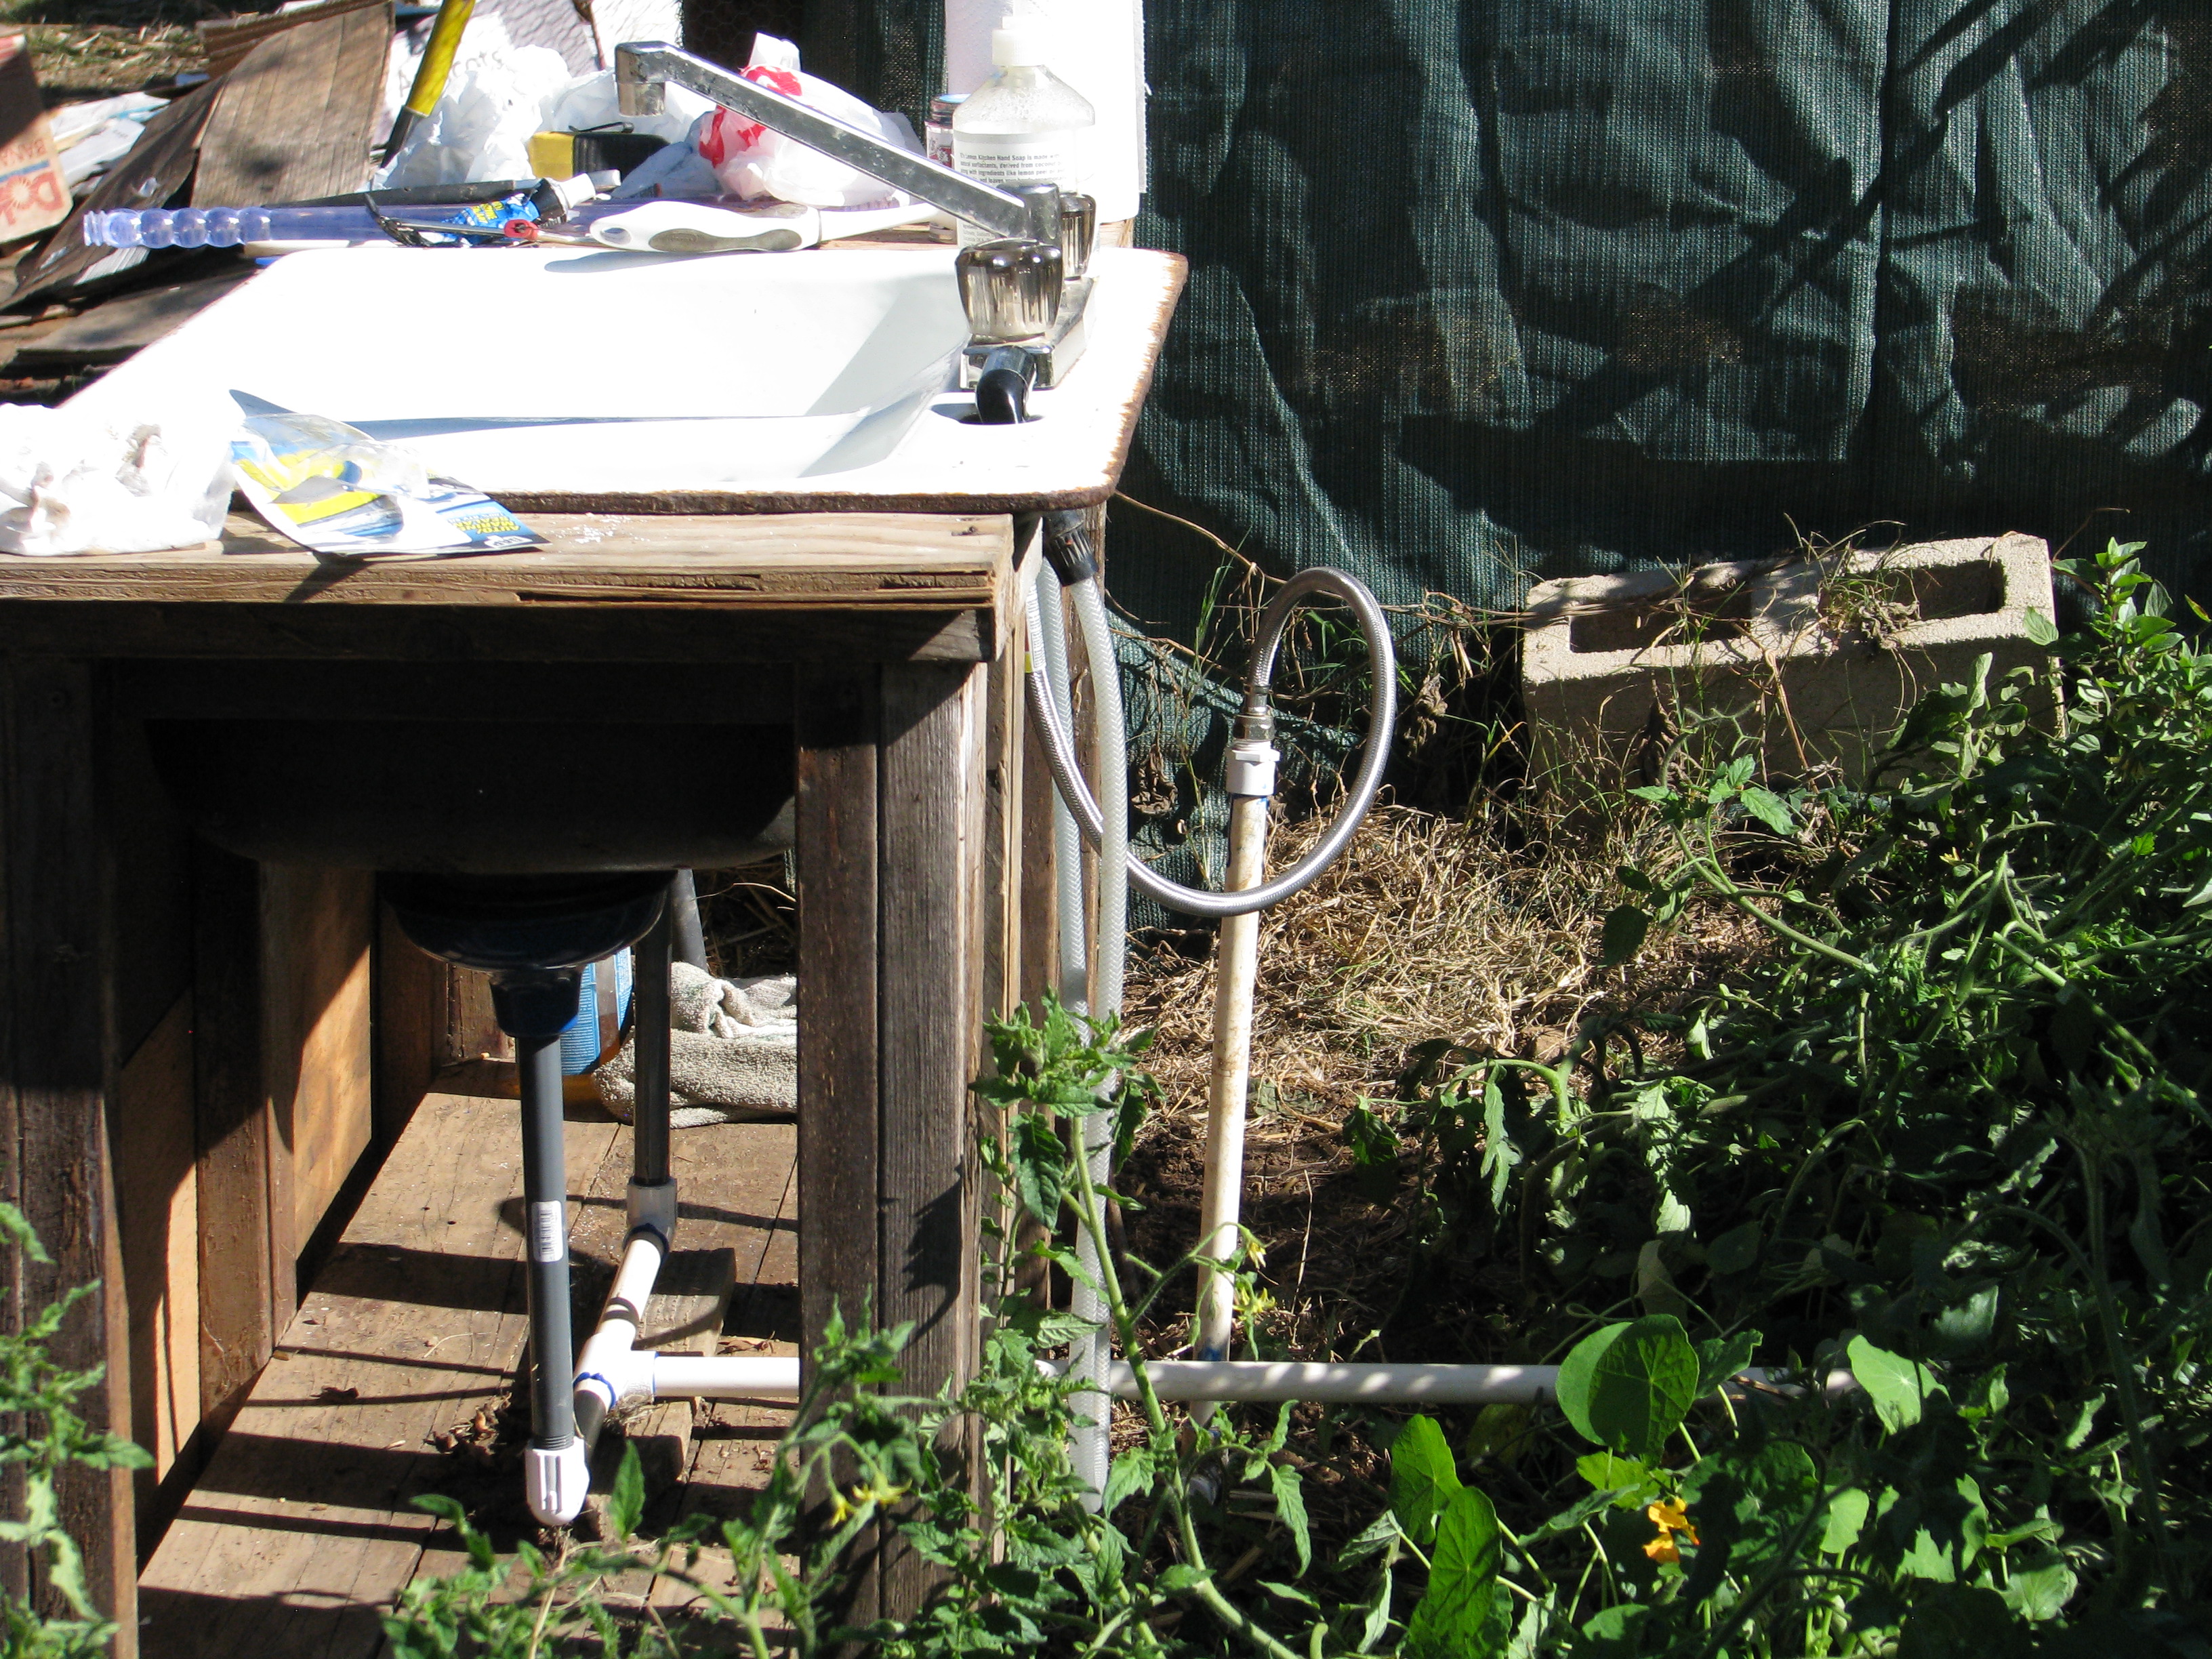
All ready to go. The trick really was to get this thing in place around the support legs behind the fishtank stand! 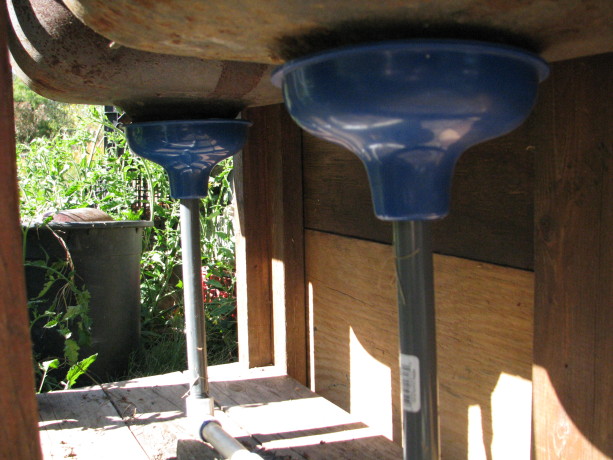
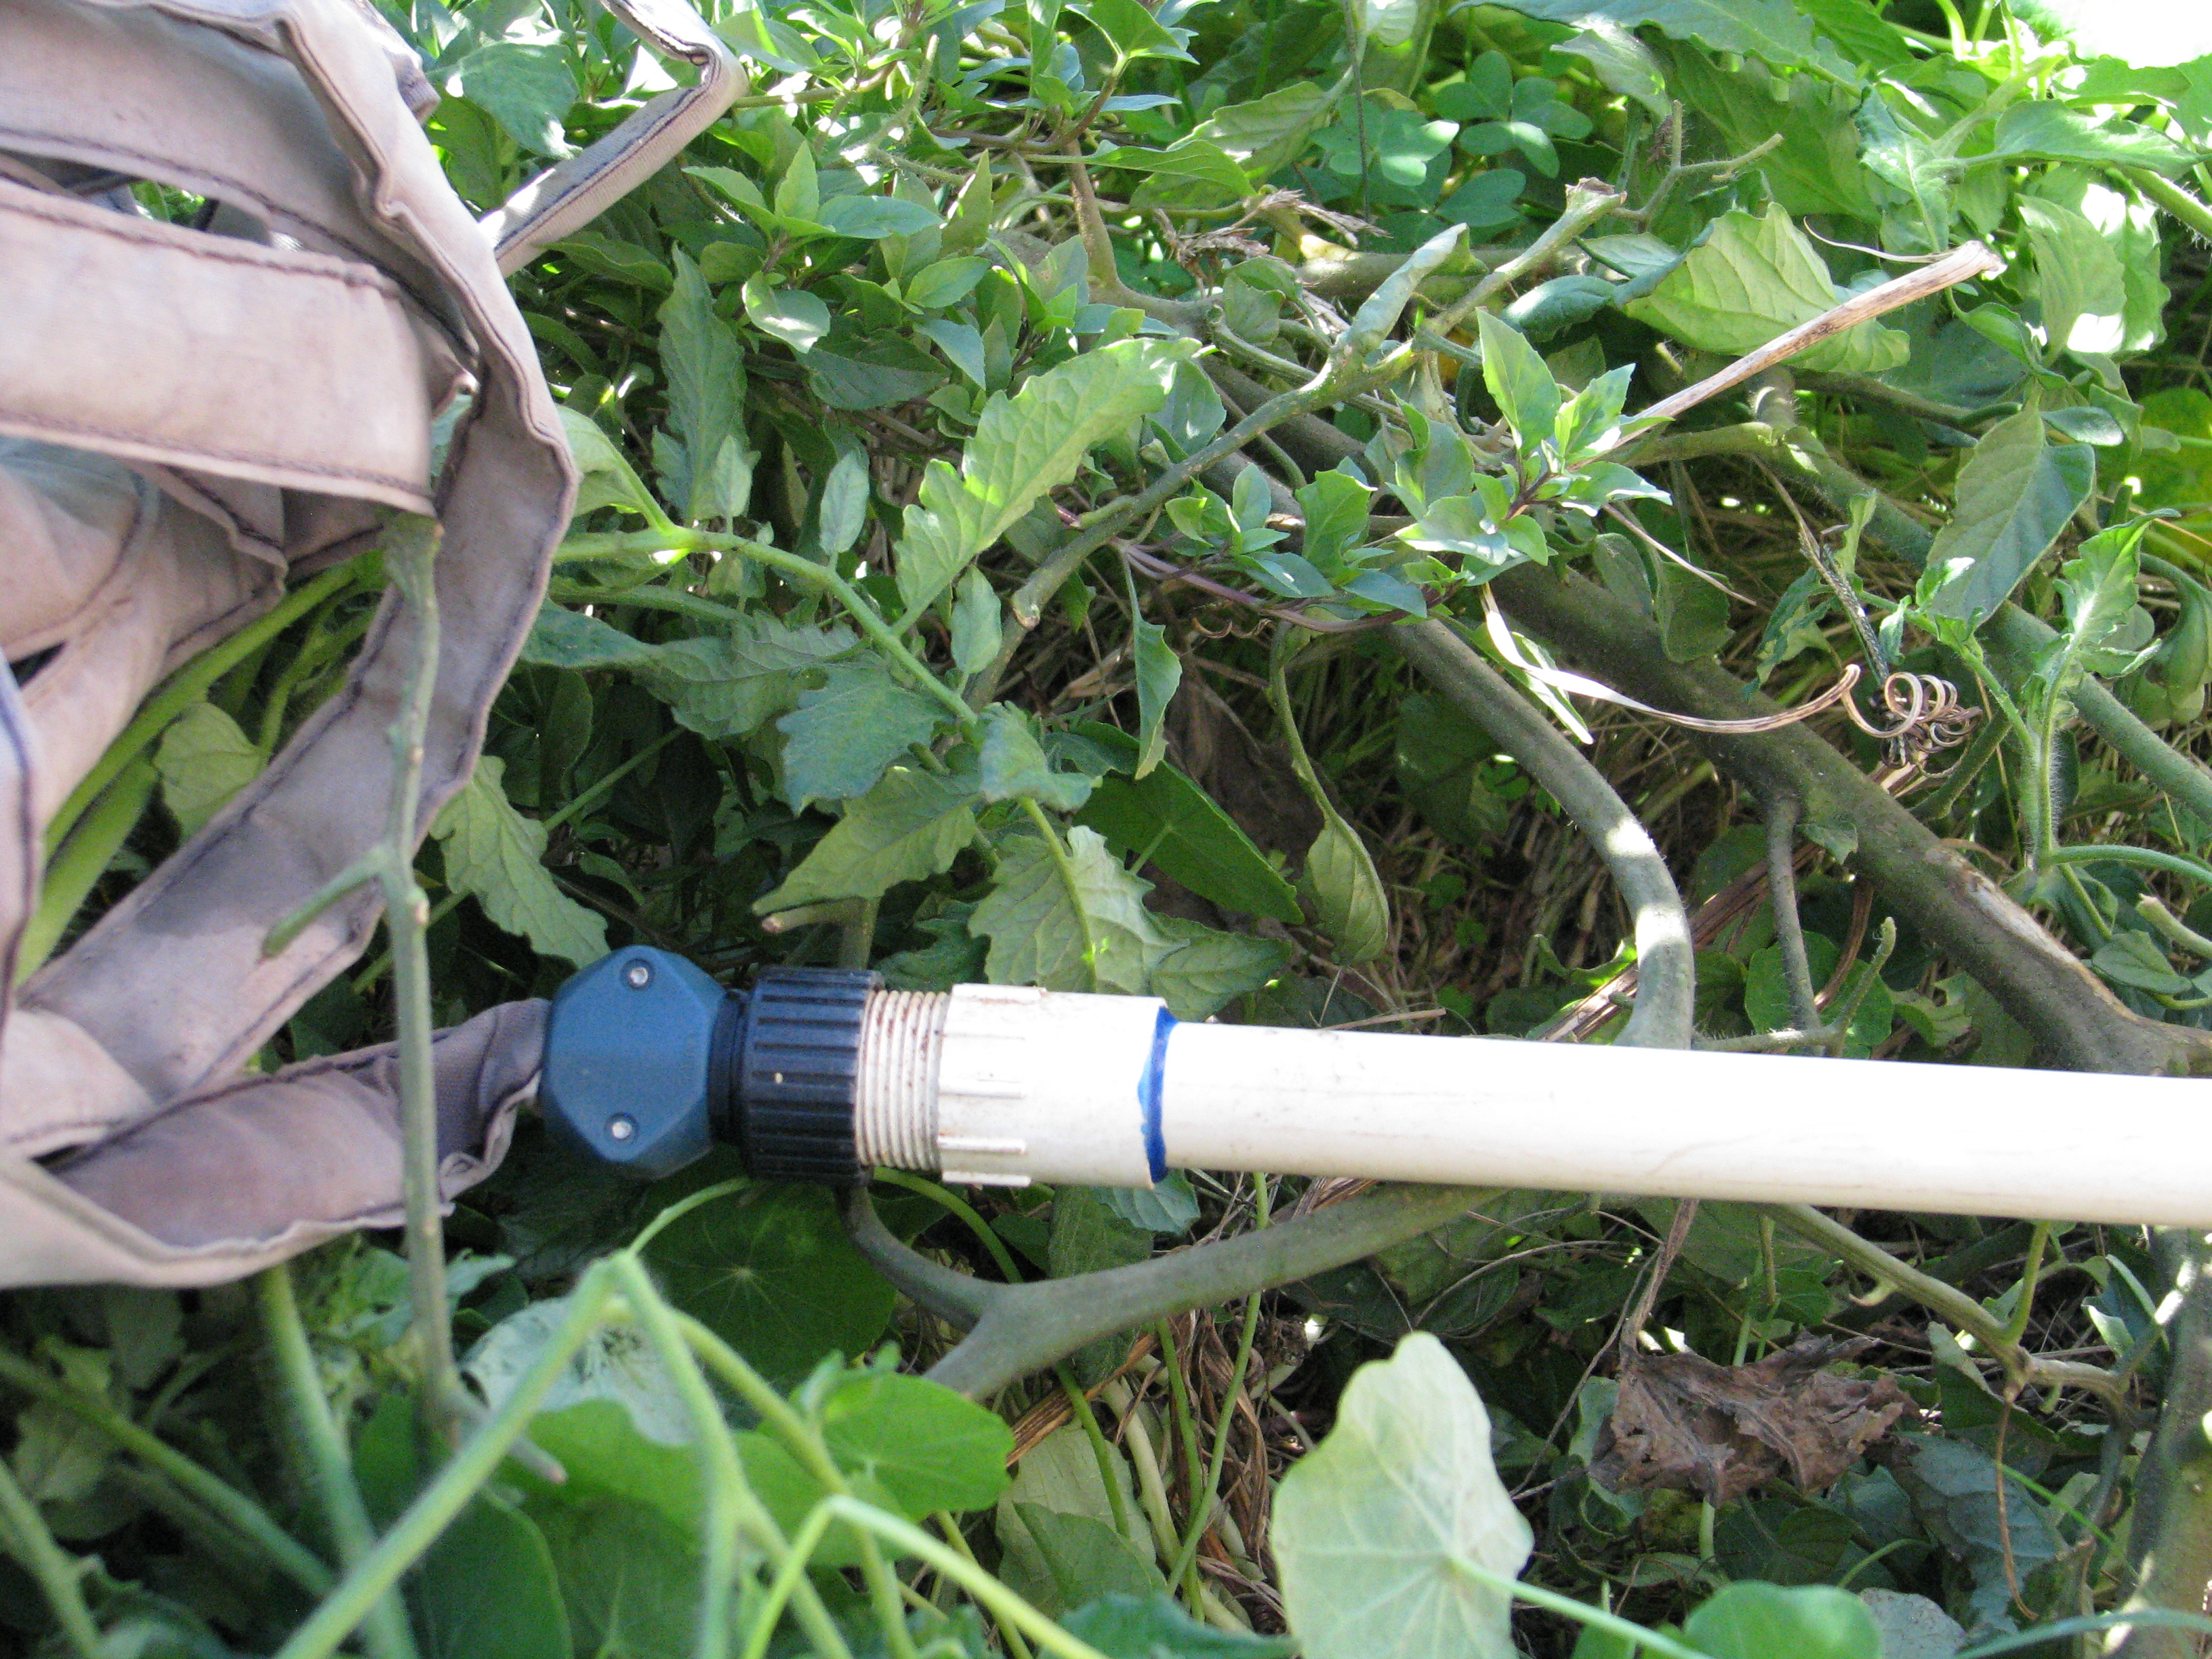
My beauties. My plan was to screw it into a soaker hose that I already had, but I worried that without water pressure it wouldn’t work. It didn’t.

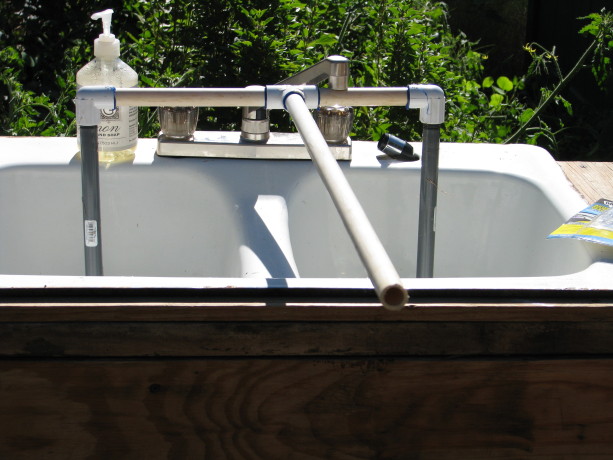
The soaker hose idea failed because of the lack of water pressure, and caused the water to back up and overflow the plunger cups. I removed the screw end from the PVC and glued on more 1/2″ pipe so that the water would directly empty near the apple tree.
There were a few other tweaks, such as widening the drill holes in the plunger for better water drainage, propping the pipe up on a piece of wood so that it fit the drains more securely (it isn’t fastened onto the stand so that if I had to access the plunger cups I could do so easily), and placing screen over the drains so no one would lose a ring down into the device.

Now the water drains directly into the bed. Tip: glue the long pieces on once the main part is in place under the sink. Plants will grow up around the back of the sink to hide it from view. Now it all works, I have less work to do, no yucky buckets to haul, the apple tree receives greywater, I repurposed several items and although I had to buy a few things, I supported a local business, the sink is in a better location, and I like the blue color of the plunger cups.
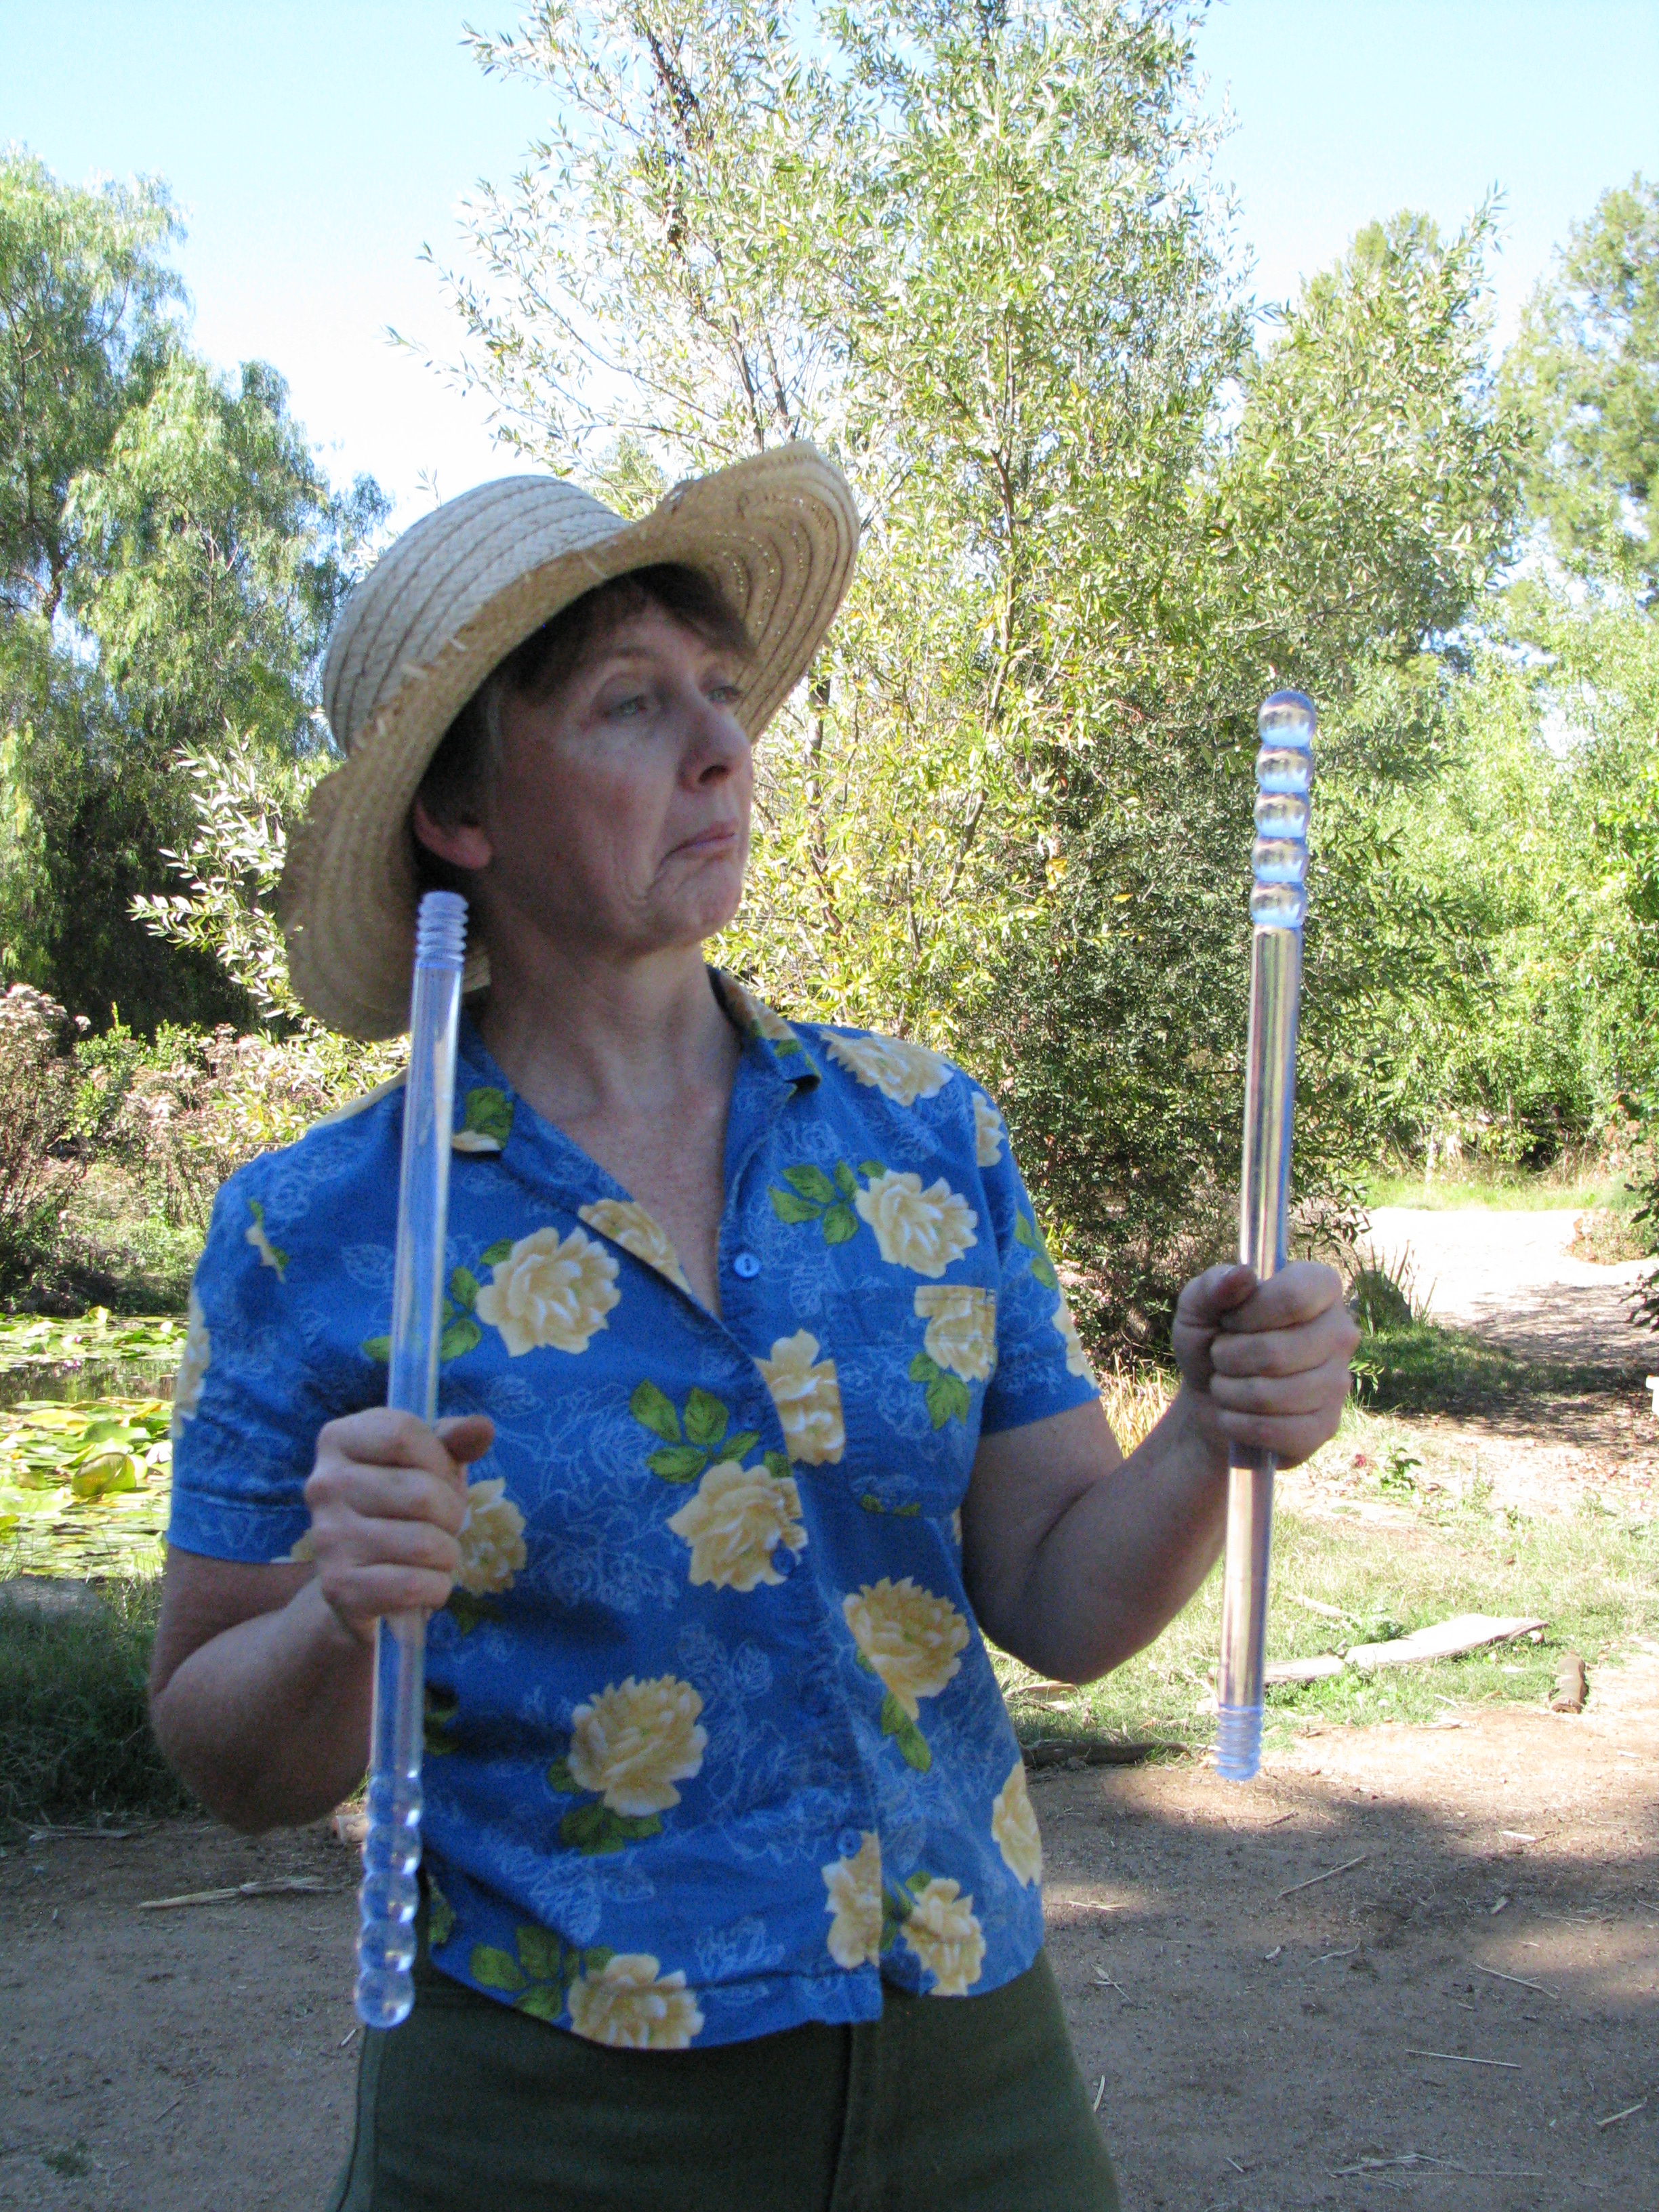
Best of all, now I have some snazzy clear handles to use for some other project!

Hmm. Threaded magic wands! I wonder how I can repurpose these beauties?!