- Compost, Fungus and Mushrooms, Gardening adventures, Hugelkultur, Permaculture and Edible Forest Gardening Adventures, Rain Catching, Seeds, Soil, Vegetables, Water Saving, Worms
Planting Spores in the Garden

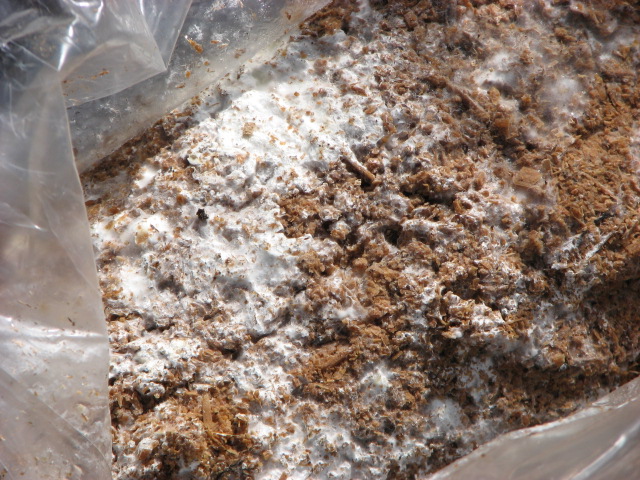
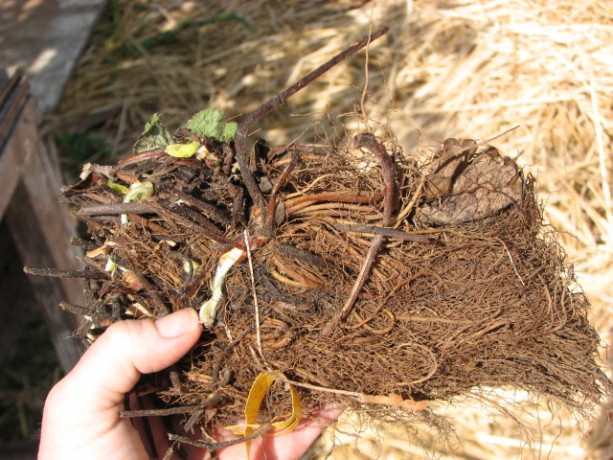
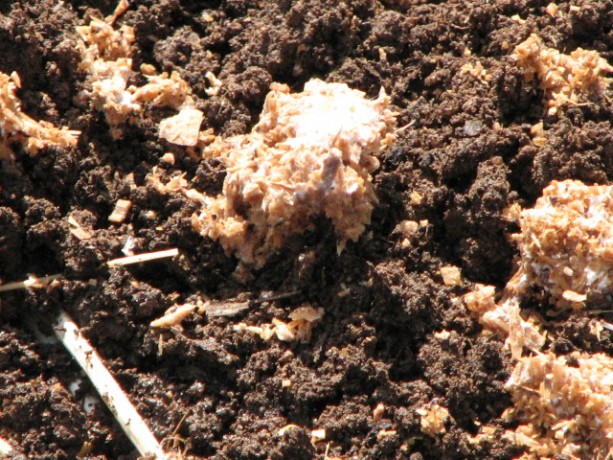
The mycelium is white in the sawdust and ready to go. If you remember the trenching, filling and designing the new veggie patch, then this post will make more sense to you.

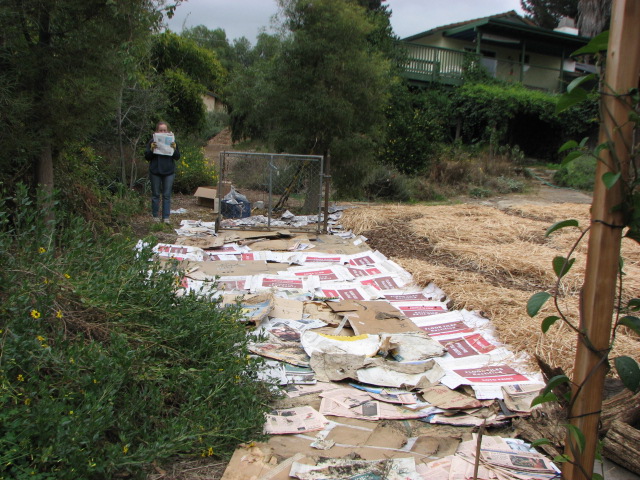
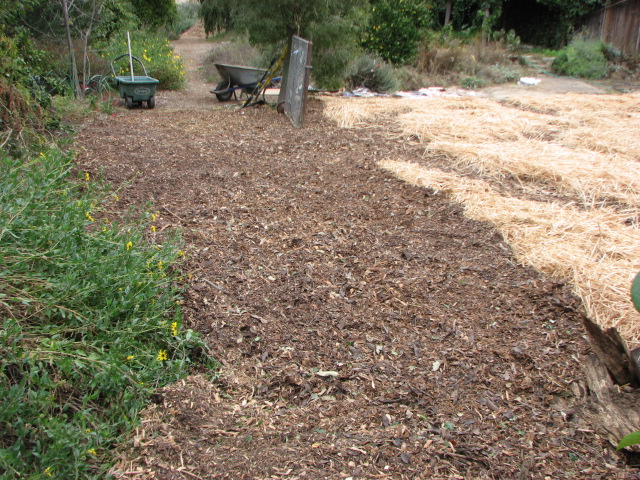
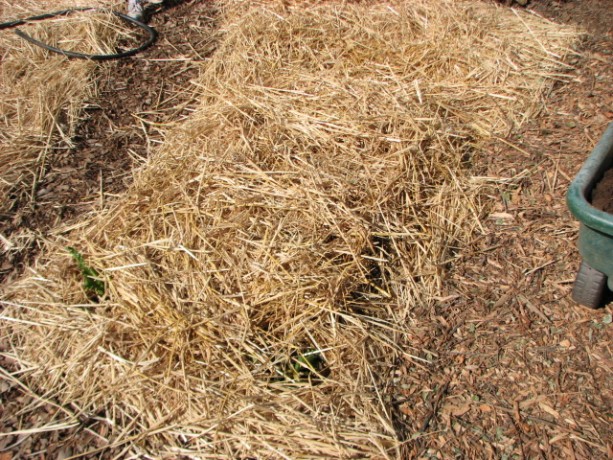
The next step was to cardboard the pathways where Bermuda grass has been taking over, then mulch them as well. The mulch makes it all look so nice!

Covered with mulch, the cardboard is only a memory. Next it was time to plant. We’d already transplanted three-year old asparagus, and hopefully not shocked them so much that they won’t produce well this year. The flavor of fresh asparagus defies description.

Asparagus popping up some feather shoots from its new home. The strawberry bed was older and completely taken over by Bermuda grass, so it all was buried and I purchased new organic and extremely reasonably priced bareroot strawberries.
A bundle of twenty-five strawberries. I purchased two June-bearing types and three ever-bearing, heat-loving types, from www.groworganic.com. When they bloom this year we’ll have to nip off the buds so that next year when their roots have taken hold and fed the crown, we can have lots of strawberries.

Soaking the strawberry roots for a few minutes rehydrates them. We planted some in the asparagus bed, which will do nicely as groundcover and moisture retention around the asparagus, while the asparagus keeps the heat off the strawberries. Some we planted around the rock in the center of the garden. The rest will be planted around fruit trees as part of their guilds.
Strawberries surround the rock. We also planted rhubarb in the asparagus bed; these poor plants had been raised in the greenhouse for several months awaiting transplanting.
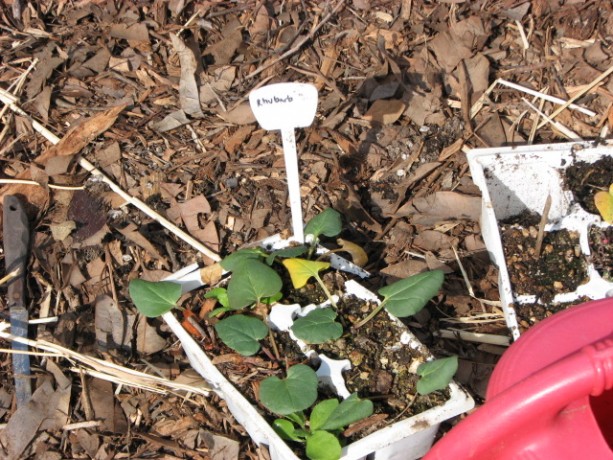
Rhubarb, really eager to be put in the ground. Hopefully the asparagus will protect them from the heat. I plan to raise more rhubarb from seed and plant them in other locations on the property, aiming for the coolest spots as they don’t like heat at all.
With a strong knife (weak blades may snap) cut a cross in wet cardboard the pull aside the edges. The way to plant through cardboard is to make sure that it is wet, and using a strong knife make an x through the cardboard. Use your fingers to pull the sides apart. Stick your trowel down and pull up a good shovel full of dirt (depending on how deeply your plant needs to go.
Insert a trowel through the hole and scoop out some dirt. The base of plants and the crowns of strawberries should all be at soil level. Seeds usually go down three times their size; very small seeds may need light to germinate). Gently plant your plant with a handful of good compost, then water it in. You won’t have to water very often because of the mulch, so check the soil first before watering so that you don’t overwater.
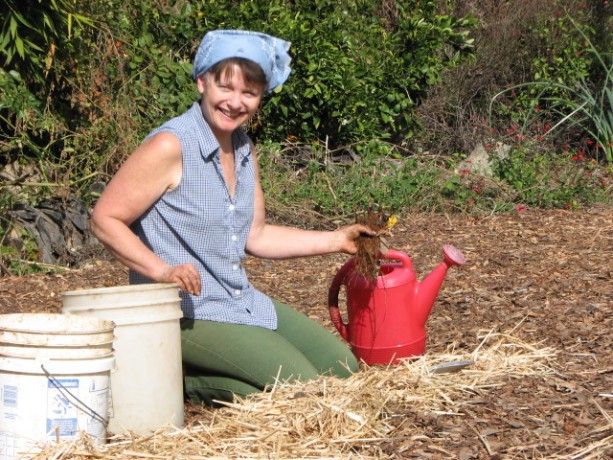
Don’t forget to water in the plants! For the first time in years I ordered from the same source Jerusalem artichokes, or Sunchokes as they’ve been marketed. They are like sunflowers with roots that taste faintly like artichoke. We planted some of them in one of the quadrants, and the rest will be planted out in the gardens, where the digging of roots won’t disturb surrounding plants.
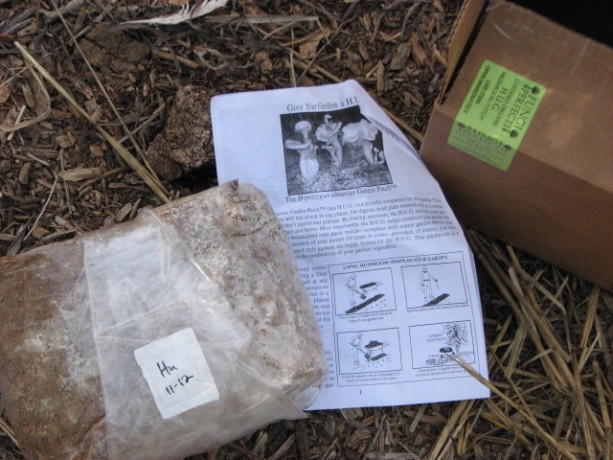
The oyster mushroom kit, or H.U.G. You’ll have to visit Fungi Perfecti to read up on it. Most excitingly, we’ve purchased mushroom spores from Fungi Perfecti, which is Paul Stamet’s business, the man who wrote Mycelium Running and several other books about growing mushrooms for food and for health. We bought inoculated plugs, but that will be another post. Almost as exciting are the three bags of inoculated sawdust to spread in the garden! They sell an oyster mushroom that helps digest straw and mulch, while boosting the growth of vegetables and improving the soil. You also may be able to harvest mushrooms from it! Talk about a wonderful soil solution, rather than dumping chemical fertilizers on the ground!
We’d already covered our veggie beds with wet cardboard and straw.
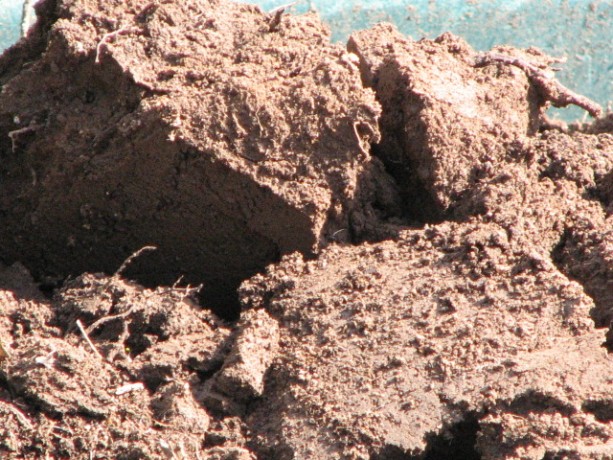
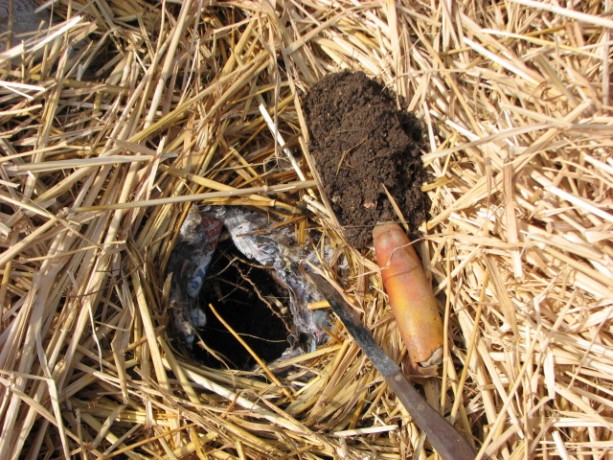
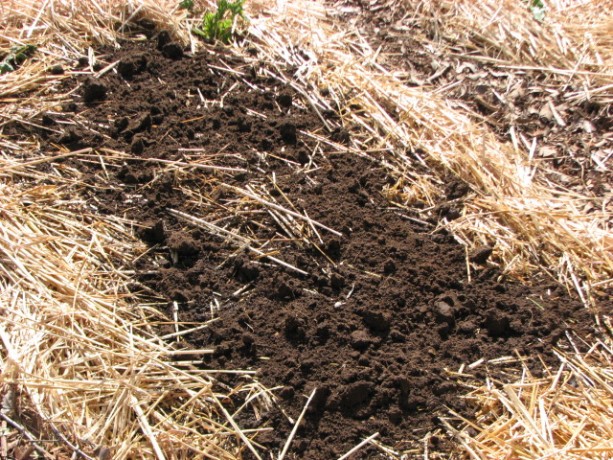
Really good soil from what is now a mulched pathway. To give the mycelium a good foundation I dug up good soil from one of the field beds, which needed an access path through the middle. By digging out the path I created new water-holding swales, especially when filled with mulch.
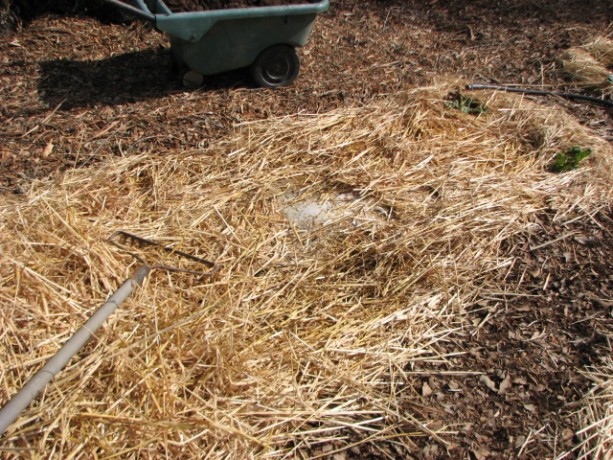
We pulled aside the straw. In the veggie garden we raked back the straw and lightly topped the wet cardboard with soil. On top of that we sprinkled the inoculated sawdust.
Good soil over cardboard. On top of that we pulled back the straw and watered it in.
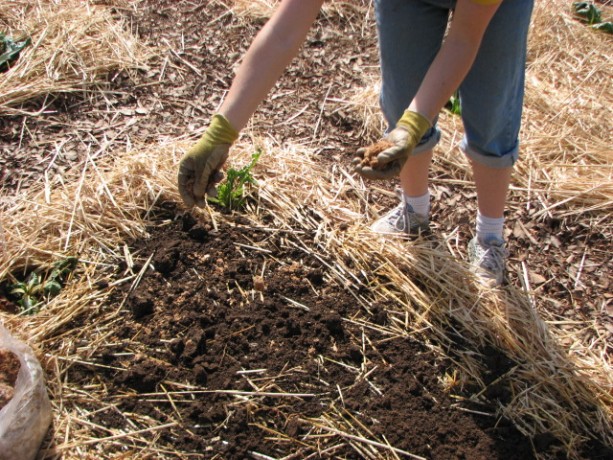
Sprinkling spore-filled sawdust over the soil. The fungus will activate on the wet soil, eat through the cardboard to the layers of mushroom compost and pidgin poo underneath that and help make the heavy clay beneath richer faster.
The fungi will immediately begin to colonize the wet soil. We treated the two top most beds which have the worst soil, the sunchoke bed and the asparagus bed. In four to six weeks we may see some flowering of the mushrooms, although the fungus will be working even as I sit here. There are several reasons why I did this. One, it is just totally cool. Secondly, there is no way for me to purchase organic straw. By growing oyster mushrooms in it, I’m hoping the natural remediation qualities of the oyster fungus will help cleanse the straw as it decomposes. Oyster mushrooms don’t retain the toxins that they remove from soil and compost, so the mushrooms will still be edible. Fungus will assist rebuilding the soil and give the vegetables a big growing boost. I know I’ve preached that vegetables like a more bacterial soil rather than fungal. This is true, except that there are different types of fungus. If you put wood chips in a vegetable bed, you’ll activate other decomposing fungus that will retard the growth of your tender veggies; the same wood chips around trees and woody plants will help them grow. However these oyster mushrooms will benefit your veggies by quickly decomposing compost and making the nutrients readily available to the vegetables. Their hyphae will help the veggie’s roots in their search for water and nutrients, too.
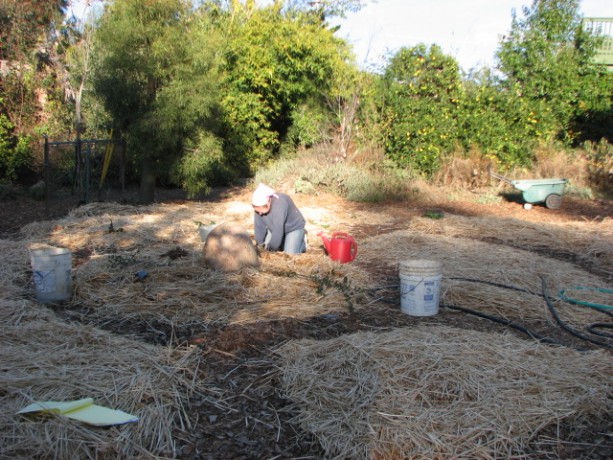
Straw is over the top and watered. We can continue to plant in the beds as the fungus does its magic. The other two bags of inoculated spores are for shaggy mane and garden giant, which we’ll find homes for in compost under trees. More on that as we progress. It is so nice to be planting, especially since these are perennial plants where the most work is being done now. Now we just need some rain!
- Compost, Gardening adventures, Hugelkultur, Other Insects, Permaculture and Edible Forest Gardening Adventures, Pets, Rain Catching, Soil, Worms
The Sunken Bed Project, Part Two
Old wire can be buried! 
Remember the trenches? We lined the trenches with old rusty wire, to rot, add iron to the soil, and discourage rodents. Mostly just to get rid of it. 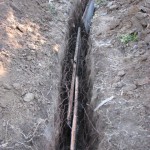
Inside the wire we lay old wood; in this case, the half-rotten sides of the old raised beds, nails and all. 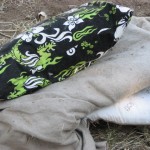
Fabric can be buried, too! Pet bedding no longer fit for man nor beast. Except for microbes of course. 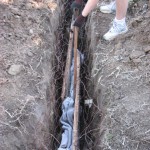
Around the wood we packed old fabric, most of which had been dog or cat bedding after long use in the house. 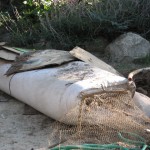
There was also this futon! It had been a bed for years, and then it was the bed for the dogs for years. And for some mice. 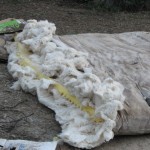
It took a little cutting and pulling to separate the cotton batting and the foam. Although the foam isn’t made from a natural material, it will eventually rot, but meanwhile will function like a ginourmous buried sponge for rainwater! 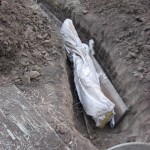
The futon slices layed in the trench. Yipee! The stinky old futon is gone! 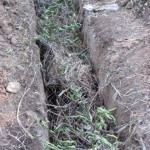
Lots of branches, twigs, and woody materials were added, as was some year-old humanure, urea, and fallen limes. Nasty prickly lime tree branches, too. Serves them right for scratching me! 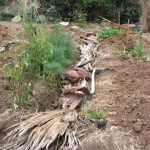
After layering the trench materials with soil I used palm fronds for the top organic layer. 
Every step was watered in. Our 700-gallon water tank, formerly an organic fertilizer tank which Jacob managed to have donated, catches some of the roof rainwater. It has more than enough to water in this project, and then if it ever rains again the tank will be empty and ready for fresh water. 
The trenches filled in. Futons, scrap wood, woody bits, old stinky fabrics, manure… its all buried and ready to turn the clay into a microbial wonderland. 
We hauled chunks of extra clay up the hill and staged it by the upper pond, which needs to be resealed. Good leg exercise. 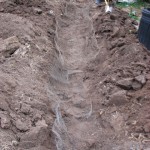
The long hugelkultur strawberry bed was above ground, so it had to be reworked. We dug out the wood, wrestled out the wire, dug down about a food then lay the wire back down. 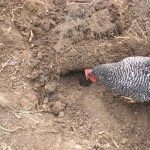
There were gopher tunnels under the wire where they had come up and smashed their little noses against the wire. 
The wood that had been buried for a year was full of life! There were many very cool fungi. 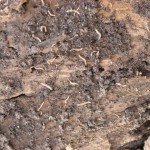
Tiny centipede-type decomposers eating away at the wood, all of which had been underground. 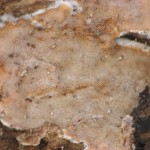
More great fungus. 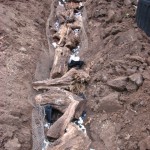
On top of the wire went some more old textiles, then most of the old wood. 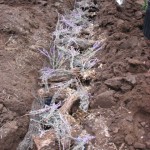
Bunches of herbs that had been gathered for wreathes and not used were tucked in around the wood. Worms love thin woody stuff. Pigeon guano, thanks to our neighbor who delivers, was sprinkled over it all. 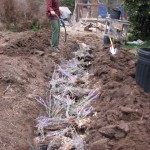
Everything was well watered with rainwater, and then covered up. Next time: design, replanting asparagus, and perhaps even the final product!