Building and Filling Free Raised Beds
 I grew vegetables in raised beds made of old bookshelf wood for many years. Then several years ago we buried that wood along with other biodegradable material in the vegetable garden and grew in the earth This is the best method of growing vegetables. However, the ongoing drought caused plant scarcity and otherwise manageable wildlife then foraged in desperation. Gophers began an onslaught of our vegetables and being a no-kill garden (except for Argentine ants) we tried many kind methods of discouraging them. Finally this year after a dry warm winter, anticipating more animal depredation, I took a friend up on their offer of free used pallets.
 We sorted through stacks of pallets and found those stamped with the same name. These pallets are untreated raw pine and of a manageable and portable size. I cut each pallet in half and then nailed and screwed them together. One raised bed needed three pallets. We then covered the bottom with hardware cloth. The areas where the raised beds were to go were leveled and in several cases, de-Bermuda grassed.
 The pernicious weed had infiltrated our good soil and so shovelful by shovelful we turned and picked. The stolens were unceremoniously tossed into a trashcan which will solarize in the burning hot summer to come, and will then be used in compost.
On top of the leveled ground we placed cardboard. This provided a grass and gopher barrier to the bottom of the bed. Although the cardboard will break down over time, it will in the short run discourage gopher tunneling and weeds. The new pallet bed was placed on top of the cardboard.
 Here is one of the tricks of having a raised bed in a hot climate: insulate it! Anything raised above soil level in hot climates are quickly heated and dried out. Raised beds notoriously have dead zones around the edges where the heat cooks the soil, killing microbes and sucking water out of the bed. Lining the inside of the bed with thick cardboard is one way to help insulate the bed, as well as planting cascading plants on the southwest side, or bushy herbs in the ground outside of the bed, or even fastening flakes of straw around the outside. With the pallets we had room to not only line the inside of the bed, but stuff cardboard down into the gaps all around the bed. We repurposed a lot of cardboard.
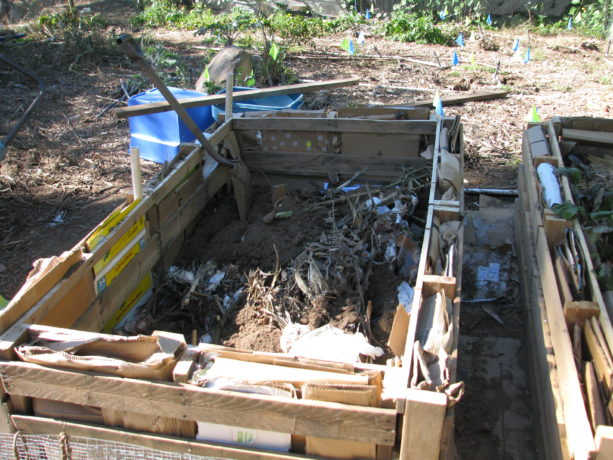 To fill the bed, we began with old sticks, limbs and logs as we had them. We layered these items as they were available, making sure that earth was touching each layer, and balancing green plant material with the brown as you would in a compost situation: dried tomato vines, fresh passionvine prunings,
 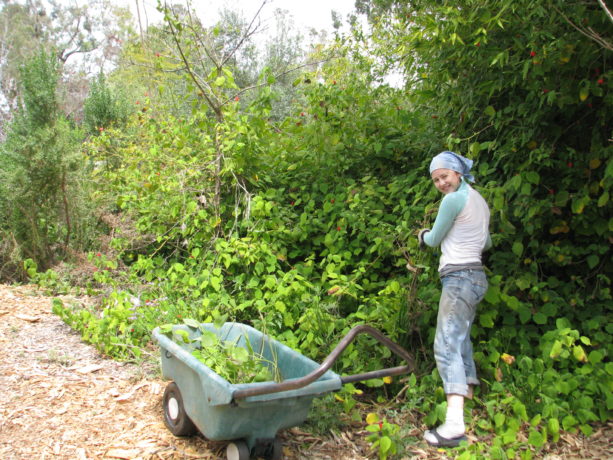 cut back rose canes, sycamore leaves, heavy clay taken from a new asparagus bed, silt from the rain catchment basins,
 kitchen scraps including bags of orange rinds after juicing, poopy chicken dirt from inside the hen house,
 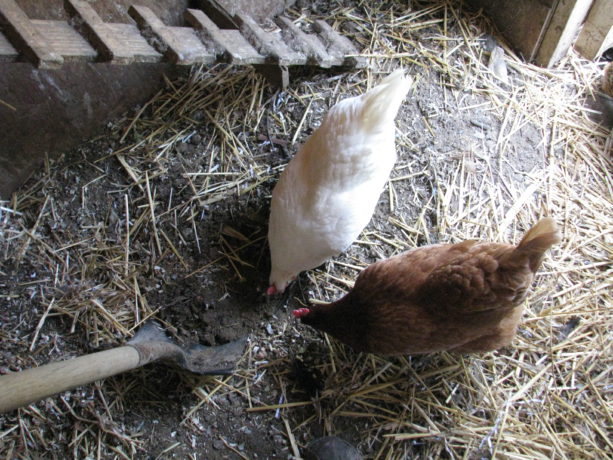 poopy newspapers from the cages in which we kept sick hens indoors (crop binding), decomposable trash such as used tissues, paper towels, cotton ear swabs, junk mail (not glossy or plastic),
 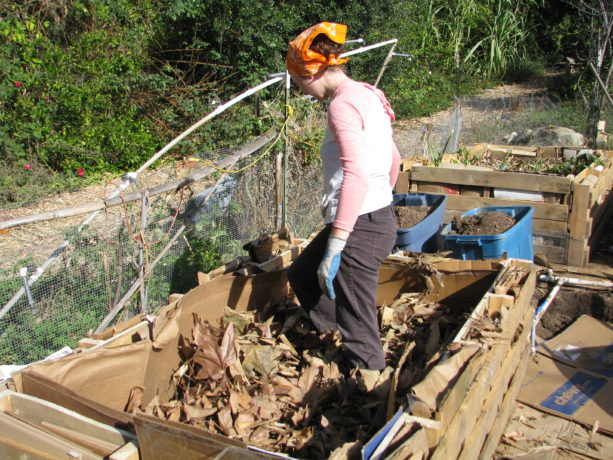 hair, cotton balls, old cotton T-shirts, and corn husks which many people don’t know are used for compost purposes (visit https://homewarranty.firstam.com/blog/corn-husks-not-just-tamales to get all the details). As we built the beds, we’d take our time filling them as we produced ‘waste’ materials, and threw them in.
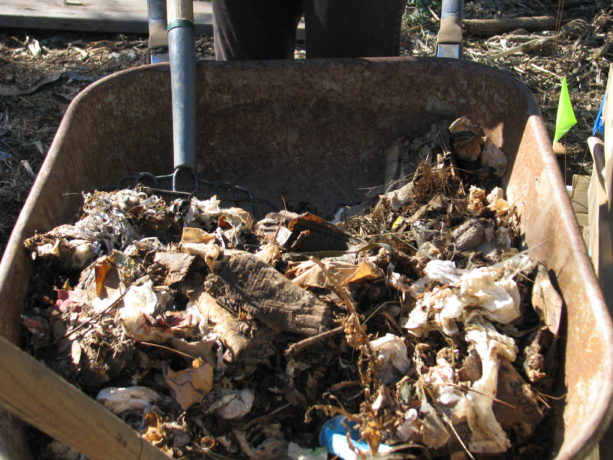


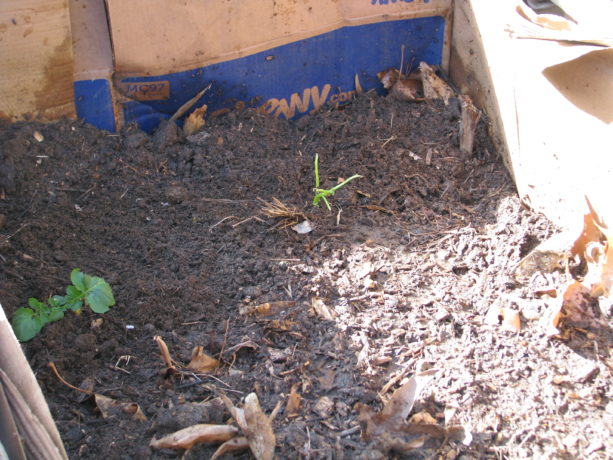
 When the bed was filled (and understanding that the contents would settle) and watered in with rainwater from our 700 gallon tank, we topped it with microbially rich soil from the garden beds (making sure there weren’t any grass bits hiding in it).
I stuck pieces of old 1′ PVC pipe evenly along the sides of the pallets prior to stuffing with cardboard, so that if needed I could insert wood or bamboo pieces and either build an upright sturdy trellis for climbers, or even make arches from bed to bed on which I can grow vines.
 For irrigation, I connected each bed to its own set of overhead sprinklers. Each bed has its own shut off.
 The pipe is resting on the opposite pallet as support, and the joint where it els across the bed are threaded pieces, so the entire length can be raised and pulled out of the way so working in the bed can be easy.
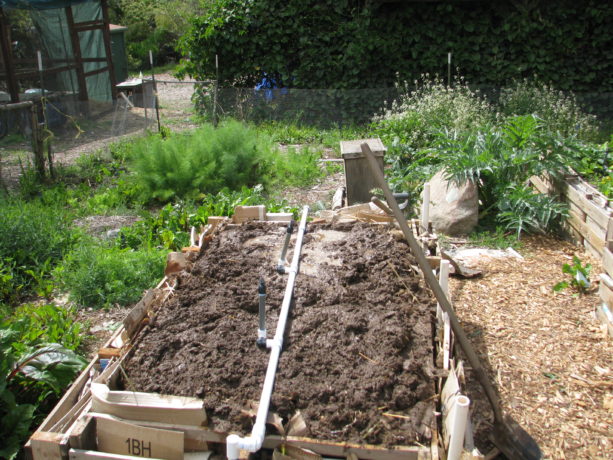 The irrigation is hooked up to our well water and is on the irrigation timer for a brief shower every other day. With a lasagna garden, once saturated water will be held in the organic materials that make it up, so after initial regular watering for seed sprouting or hardening off transplants you won’t need to water as much. Roots will grow very deeply.
Because we allow some vegetables to go to seed, we had to transplant vegetables from the ground where the raised beds were placed, into the raised beds.  We have a forest of beets, fennel, perpetual spinach, onions, peas, arugula and lettuce in what is still in the ground, and have transplanted selections from these into the beds along with planting seeds. Fortunately we love beet greens, which don’t taste like beets and are more mild than Swiss chard.
Into one bed we’ve planted potatoes in good soil at the bottom, and are gradually filling in with straw as the plants grow. We used leaves in the soil mix, but no woody bits or other lasagna garden materials because we didn’t want to dig potatoes out of piles of old wood, nor burn the potatoes with composting materials in the shallow soil layer.
I am not a good carpenter. I however am great at figuring out what should have been done after I’ve done something. Here are some tips on building pallet beds:
I had thought about placing them on top of flat pallets to be raised off of the ground, so even less susceptible to gophers and grass, but I fortunately nixed that idea before it was enacted. The reason is that that space would be a wonderful habitat for mice or rats, or even snakes. Much as we welcome non-venomous snakes into our garden I really don’t want to startle one with my feet as I’m leaning over a bed. Of course, they would take care of the mouse and rat problem, so maybe it would be a good thing.
I had several bags of 16p galvanized nails given to me years ago, a rescue from a construction dumpster. I mean, kitchen trash-sized bags. I can’t move them, and they sit in my large shed. I opted to use some of them for this project. It was difficult hammering them into the knotty wood of the pallets, and often the holes had to be pre-drilled. Nailed wood also can pull apart, so braces across the width of the pallet to prevent bulging would have been a fantastic idea. For the last two I resorted to screws, which are far easier to both install and remove. Perhaps the nails will have to go to Temecula Recycling. If I can lift them.
We needed to build the beds quickly, as planting season bore down on us here in San Diego even earlier than usual. Here at the beginning of April we are far behind because we haven’t planted out tomato, squash, melon or cucumber seeds yet. Whew! So the beds are not beautiful, but they are functional. You can pretty up pallet beds by attaching wood around the outside, or straw flakes, or other material, and by putting wood around the top. Especially if it is repurposed wood. If you have mouse problems, then try attaching chimney flashing or other wide strips of metal around the base of the bed so that they cannot climb up the sides.
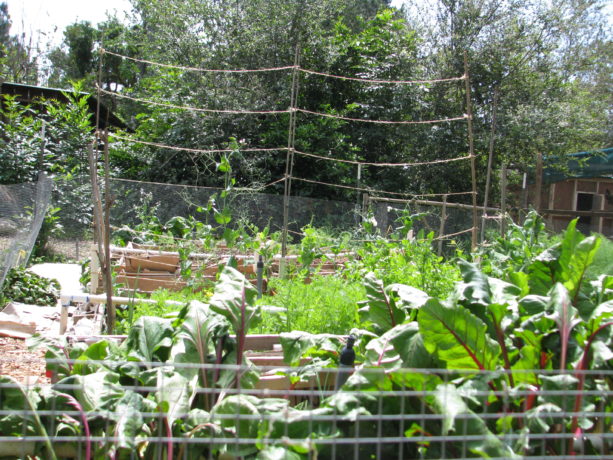
My entire vegetable patch is surrounded by a chicken wire fence, so bunnies can look but they cannot touch. We don’t have squirrels anymore in the garden because California ground squirrels like to see all around them, and our dense food forest is much too scary for them to be comfortable. Using a mild shock wire around the beds or garden fence, using metal flashing to prevent climbing, or enclosing a small garden with wire would all be ways to prevent squirrels and rats from feasting.
We covered the surrounding ground with cardboard and topped with free wood chips, for sheet mulching. 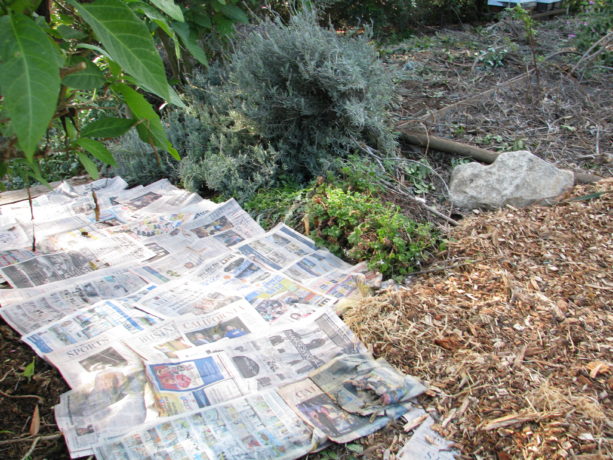 This cools the soil, prevents weeds from emerging, helps choke out the Bermuda grass, and also keeps the gopher at bay. He or she must push droppings out of the hole, and if they hit cardboard, or have a shower of bark come down on them, they will go elsewhere.
Because we used non-sterile garden soil as a topper, we’ve had some weed seeds germinate but also some pleasant surprises. We planned on planting dill but found it popping up in our polyculture planting. We had several potato bits sprout, so they needed to be moved into the potato bed. Purslane, which is a weed but also one of the most nutritious greens you can eat, loves the beds so we are harvesting it regularly for chicken feed, personal use and also for making green smoothies as liquid compost for our citrus trees. Because we don’t use chemicals of any sort in the beds, there are a number of native western fence lizards loving the heck out of the beds and helping with our integrated pest management.
Some crops such as corn and tomatoes will need to go into the soil; so far gophers haven’t eaten corn, and the tomatoes can go into gopher cages up against fences or around the property on trellises or trees. The strawberries, Jerusalem artichokes and horseradish seem safe in the ground as well.
Our raised beds are working beautifully already, and the dirt and organics inside of them will be building good soil month after month until it is gorgeous compost. Except for labor, wire and a few PVC parts, they were free to build and free to fill. They can be topped off with good compost after a season, or even given another layer of old tomato vines and dried plant scraps topped with compost for the next planting season if needed. But it shouldn’t unless the height of the soil needs building, because the soil inside the bed is improving all the time.
Give it a try, and make it more attractive, and you’ll have wonderful, safe vegetables and no green waste at all.
2 Comments
Diane
Thanks for reading and commenting, Ann. We have monthly tours on the third Sundays of the month, and by appt. as well. Diane
Ann Force
Enjoyed your permaculture raised bed process! Saw link for Finch Frolic Garden Tour in July.