- Building and Landscaping, Gardening adventures, Hugelkultur, Irrigation and Watering, Permaculture and Edible Forest Gardening Adventures, Water, Water Saving
Irrigation for Drylands, Part 3: Designing Your System
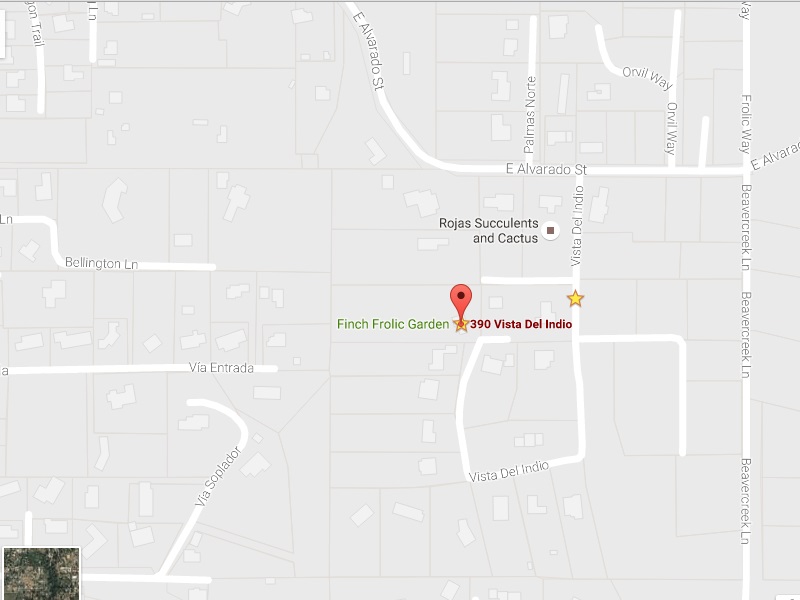
Google Maps view of property lines. Before you start buying pipe, make your design. If you are new to the property, evaluate the plants and features that exist and decide if you really want them or not. Use the ‘three positives’ rule in permaculture: everything in your yard should give you at least three positive things. For instance, you have a eucalyptus tree. It gives great shade, it is a great roost for larger birds which keep down your mice and rats, it drops lots of leaves for mulch, etc. On the ‘negative’ side, they are really thirsty and they send their roots out in search of water. They will go to the nearest irrigation and drink from there, robbing water from the tree you are trying to water. They are also allelopathic, meaning that they produce a substance that discourages many other plants from growing, or growing successfully, under or near them. Their root mass is so thick close to the surface that very few plants can survive. If planted in the wrong spot they will block views, hang over the house, drop those leaves, peels of bark and depending upon the species, heavy branches, where you don’t want them, get into overhead wires or underground leach lines, etc. They don’t make good firewood or building material, and are highly flammable. How does the tree weigh in? Usually eucalyptus are all negatives in my book. Only if they are providing the only shade and bird perches for a property are they useful. Even then I recommend pollarding them (reducing their height) and trying to ‘nursery in’ other better trees to take their place. Cut trees then should be buried, as in hugelkultur. So evaluate what you have using the three positives rule and don’t be too sentimental if you don’t like something. Do you like them? If not, cut them and bury them to fertilize plants that will serve you, and yes, aesthetics is very much a plus. If you love a particular plant, then if its possible, plant it.
If you have a property that is a blank slate, your irrigation diagram will follow your plant design. If you have an existing landscape, as I had, you need to map out where all the trees and groupings of plants are, what their water needs are and keep in mind the way water runs past these plants when you do. Use Google Maps. Type in your address, find your home and zero in on it until you can clearly see the boundries of your property.
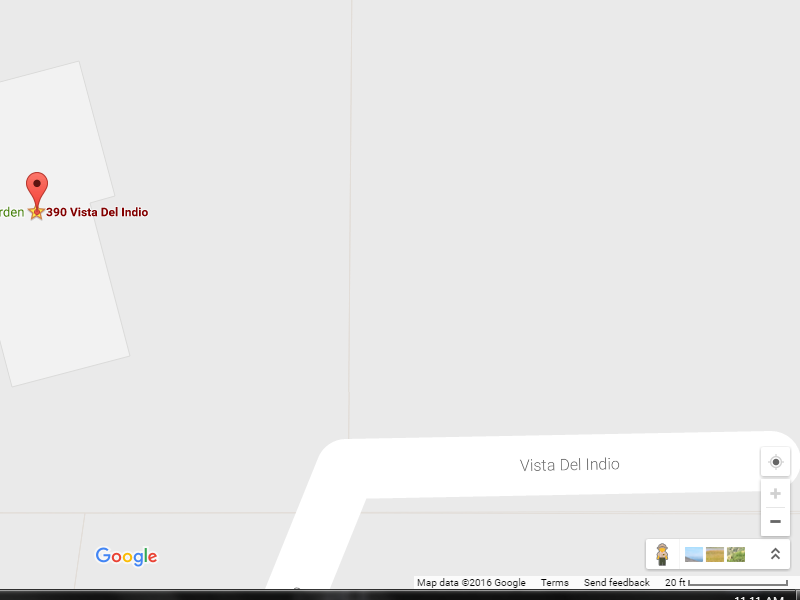
At the bottom right hand corner of the screen is the key that show how many feet are in a measurement. This line may not always equal an inch, so measure it! At the lower right Google shows you a key for distance. There is a line with a number above it. This shows you how many feet are represented by that length. Don’t assume that the line is one inch! The line will adjust, so put a ruler up to the screen and measure it. I zoom out until the line is an inch long, and take that number; its just easier to compute distances using an inch rather than a fraction. You can print that diagram of your property line, which will show you which way your house sits on the property.
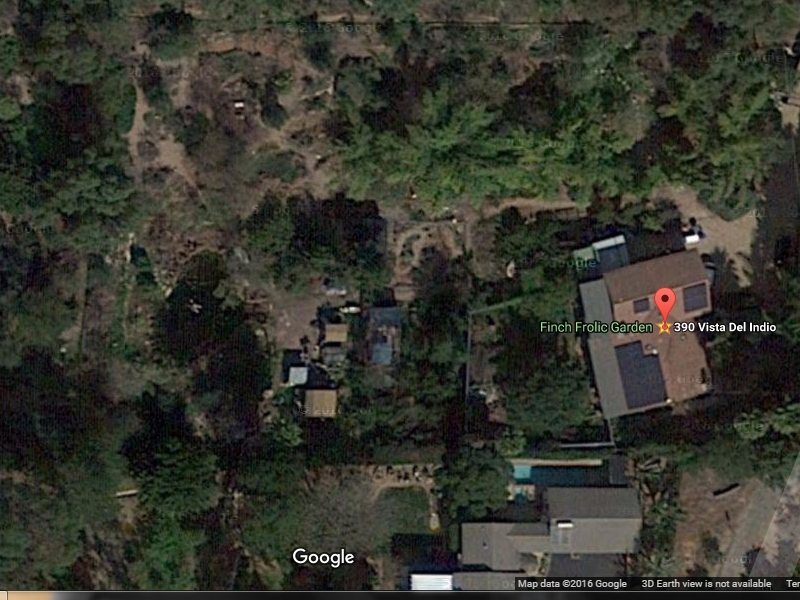
Satellite view of Finch Frolic Garden. This helps to map groupings of vegetation. I have a PC, so I press the PrntScr (print screen) key, paste it onto a paint.net screen, crop off the extra bits and print that. Now you have something to work with. I double or triple the size of the drawing onto a larger sheet; this can be done easily with a ruler, using the printed sheet to guide your angles.
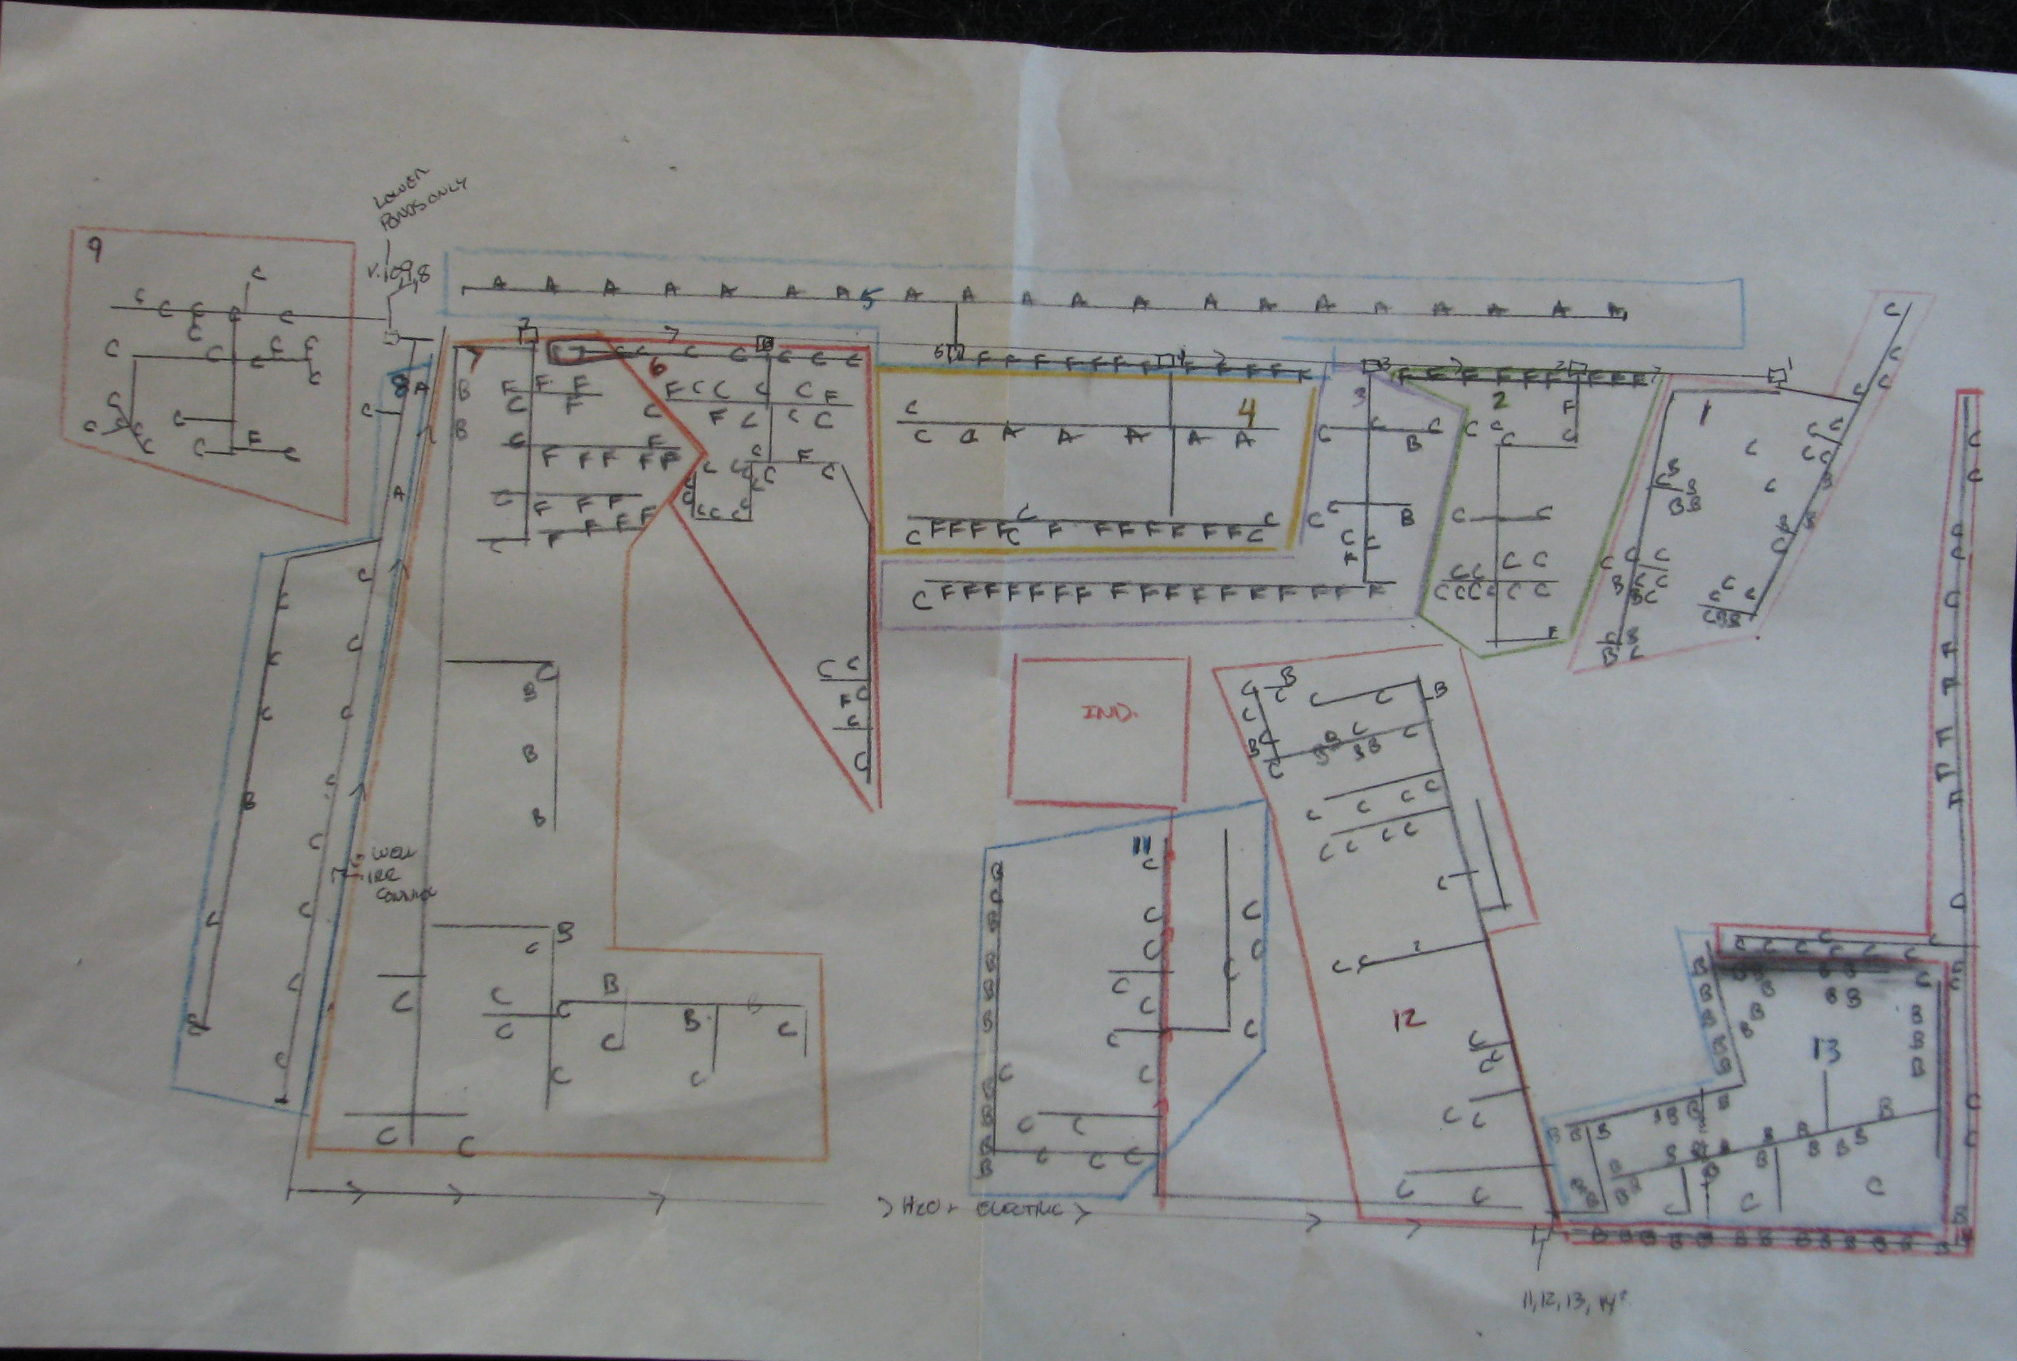
A projected irrigation plan for Finch Frolic Garden. What you actually put in may differ. Make a couple of copies of this template, and then use one to start drawing.
When you have the plants down on paper, then start with the irrigation. Determine where your water main is, and where any valves and hose bibs are around your house. If you only have domestic water to choose from, you’ll be coming from a domestic line.
Fifteen to twenty sprayers are good per valve. I’m not talking about high-pressure nozzles that shoot water all over the place; these you want to eliminate. Most of that water is evaporated.
The sprinklers that we installed have a spray of up to 4 feet, and can be reduced down to a drizzle.
These are what we installed here:
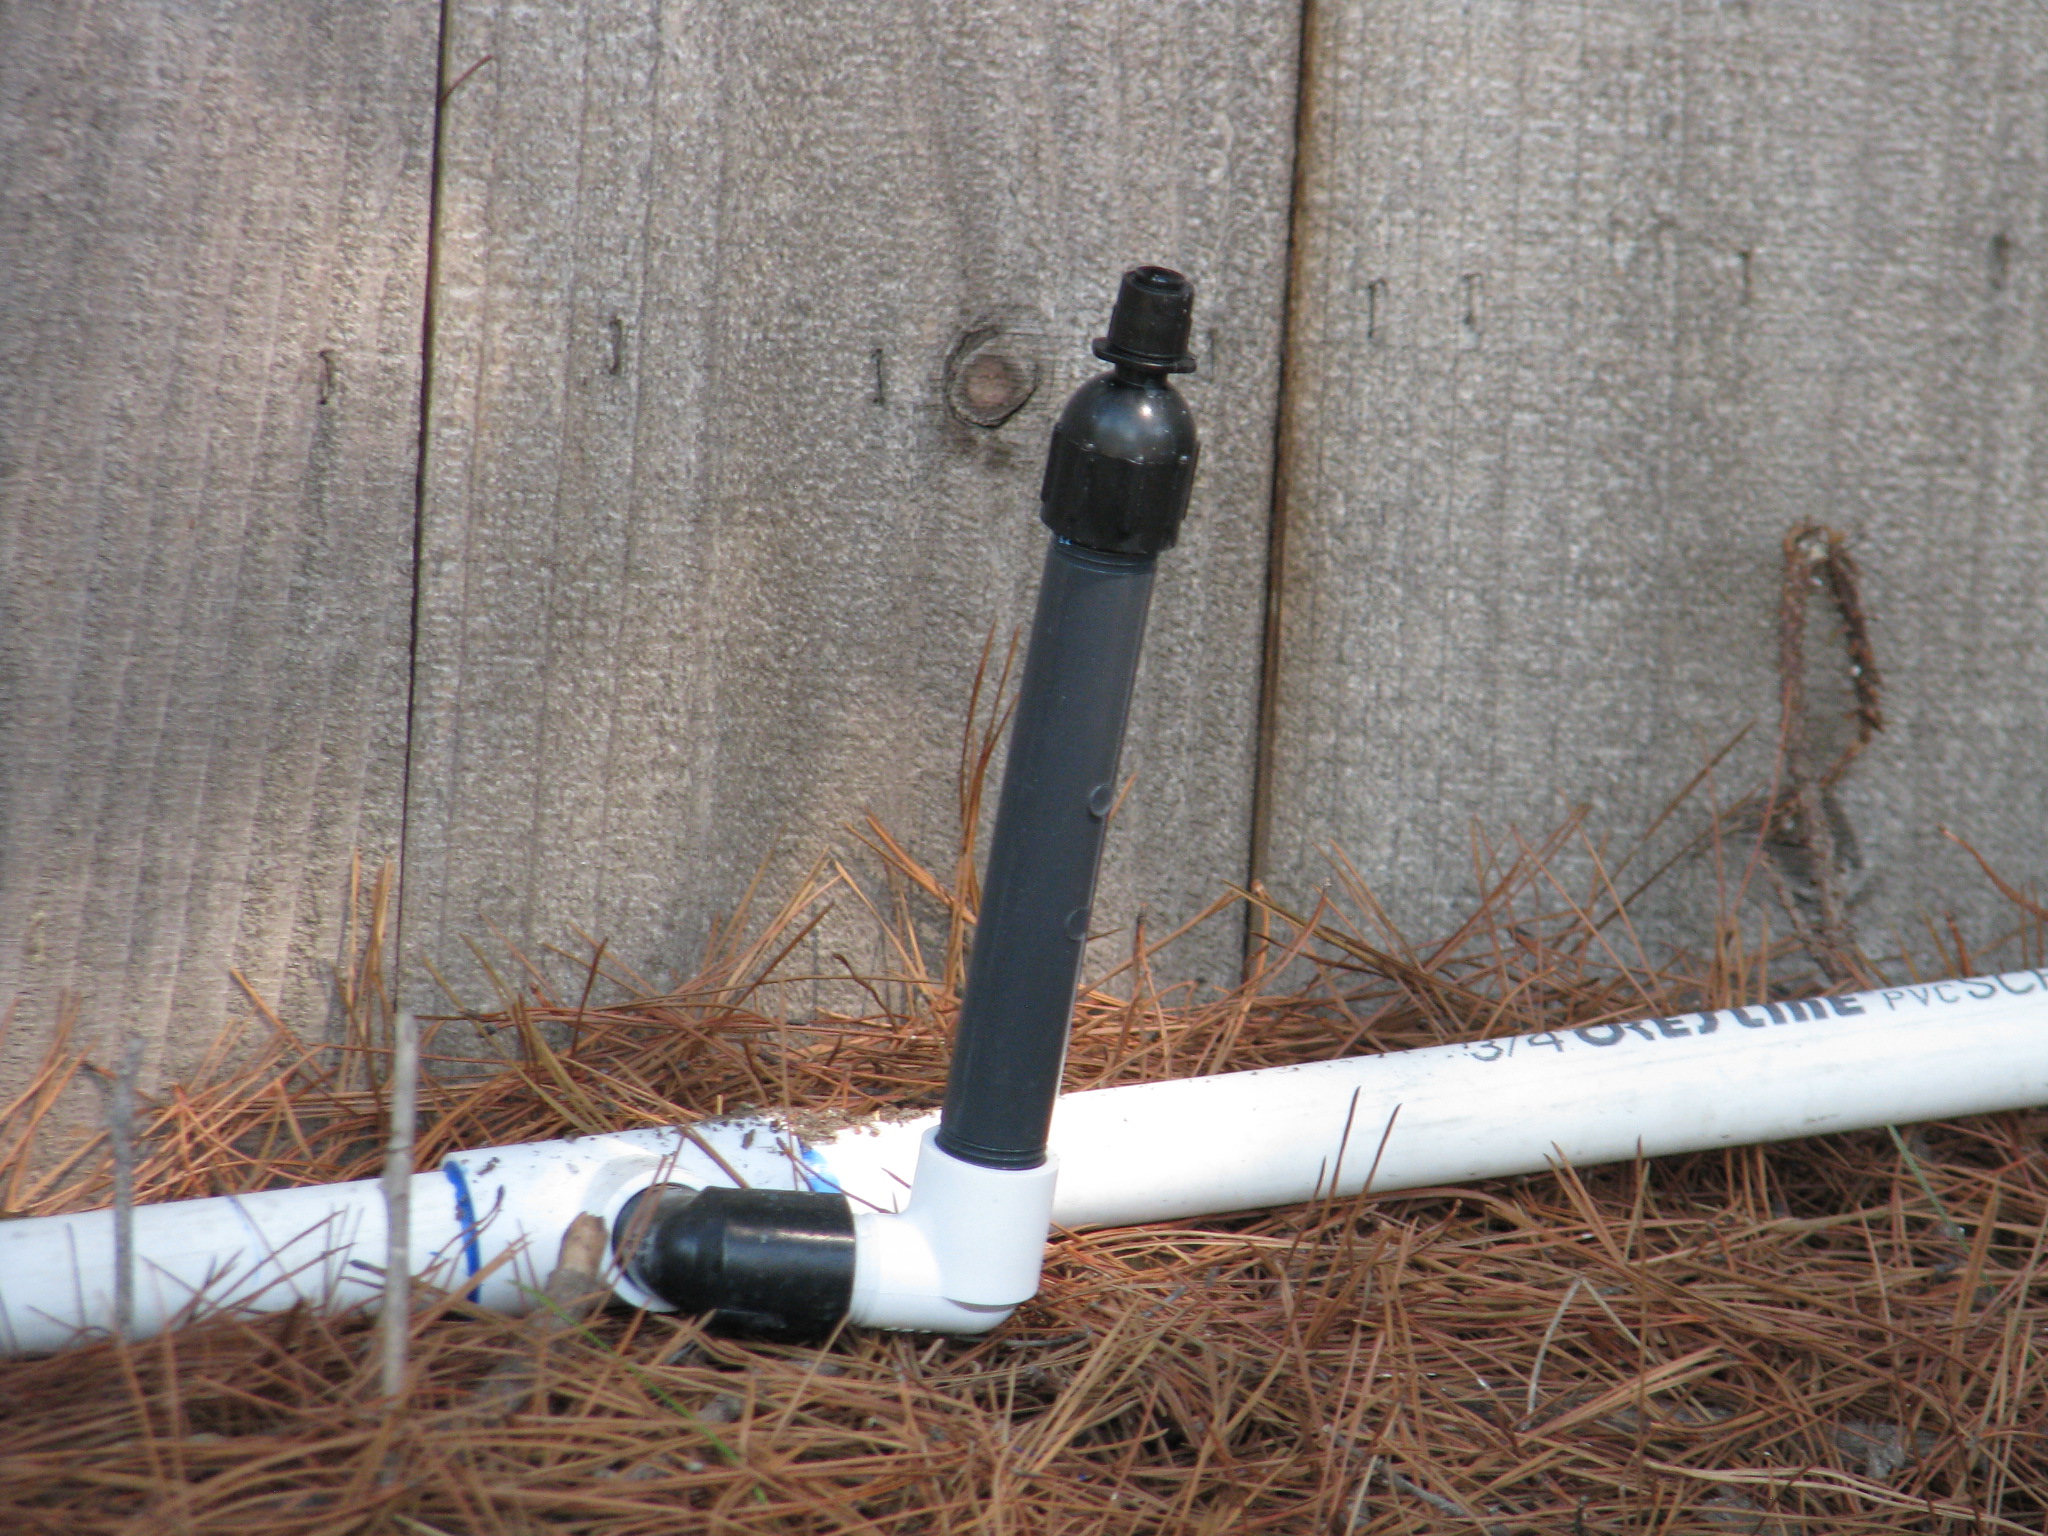
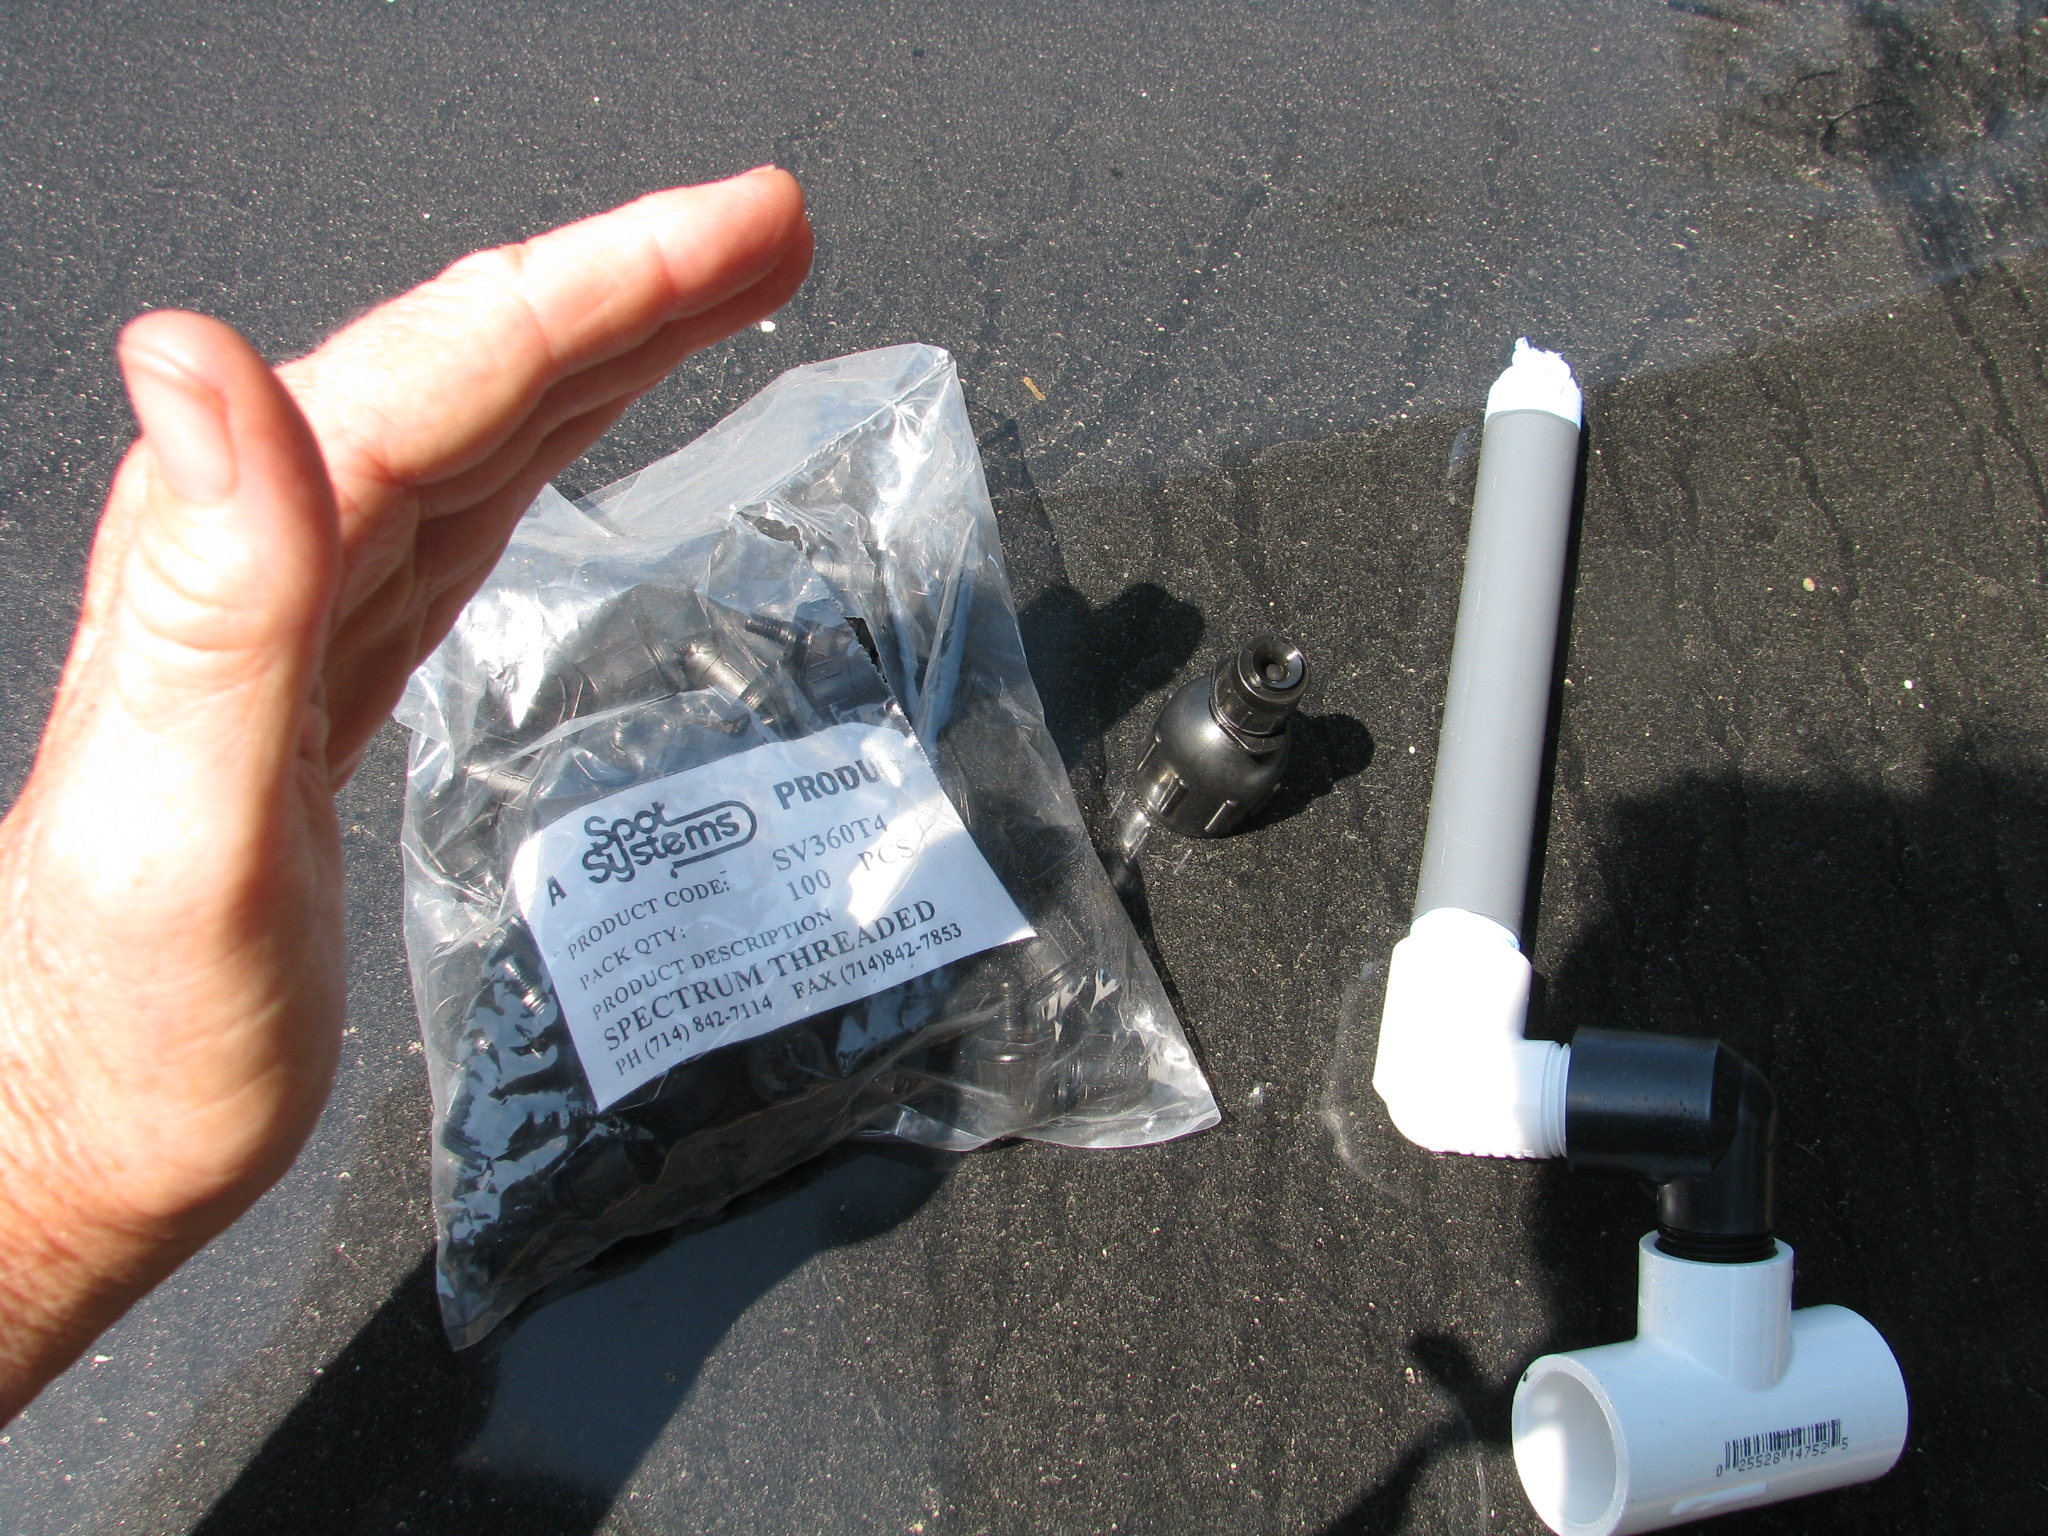
The 3/4″ T was glued in facing sideways rather than straight up. A black Street 90 and a white Street 90 were screwed into the T, firmly but with enough leeway to turn if pushed. Black ones don’t need pipe tape because they are soft and self-seal. The risers (nipples) are 6″, and were taped at both ends before screwing into the Street 90. (You don’t put the heads on yet because you’ll want to ‘blow’ out your system with water to clean the pipes beforehand. )
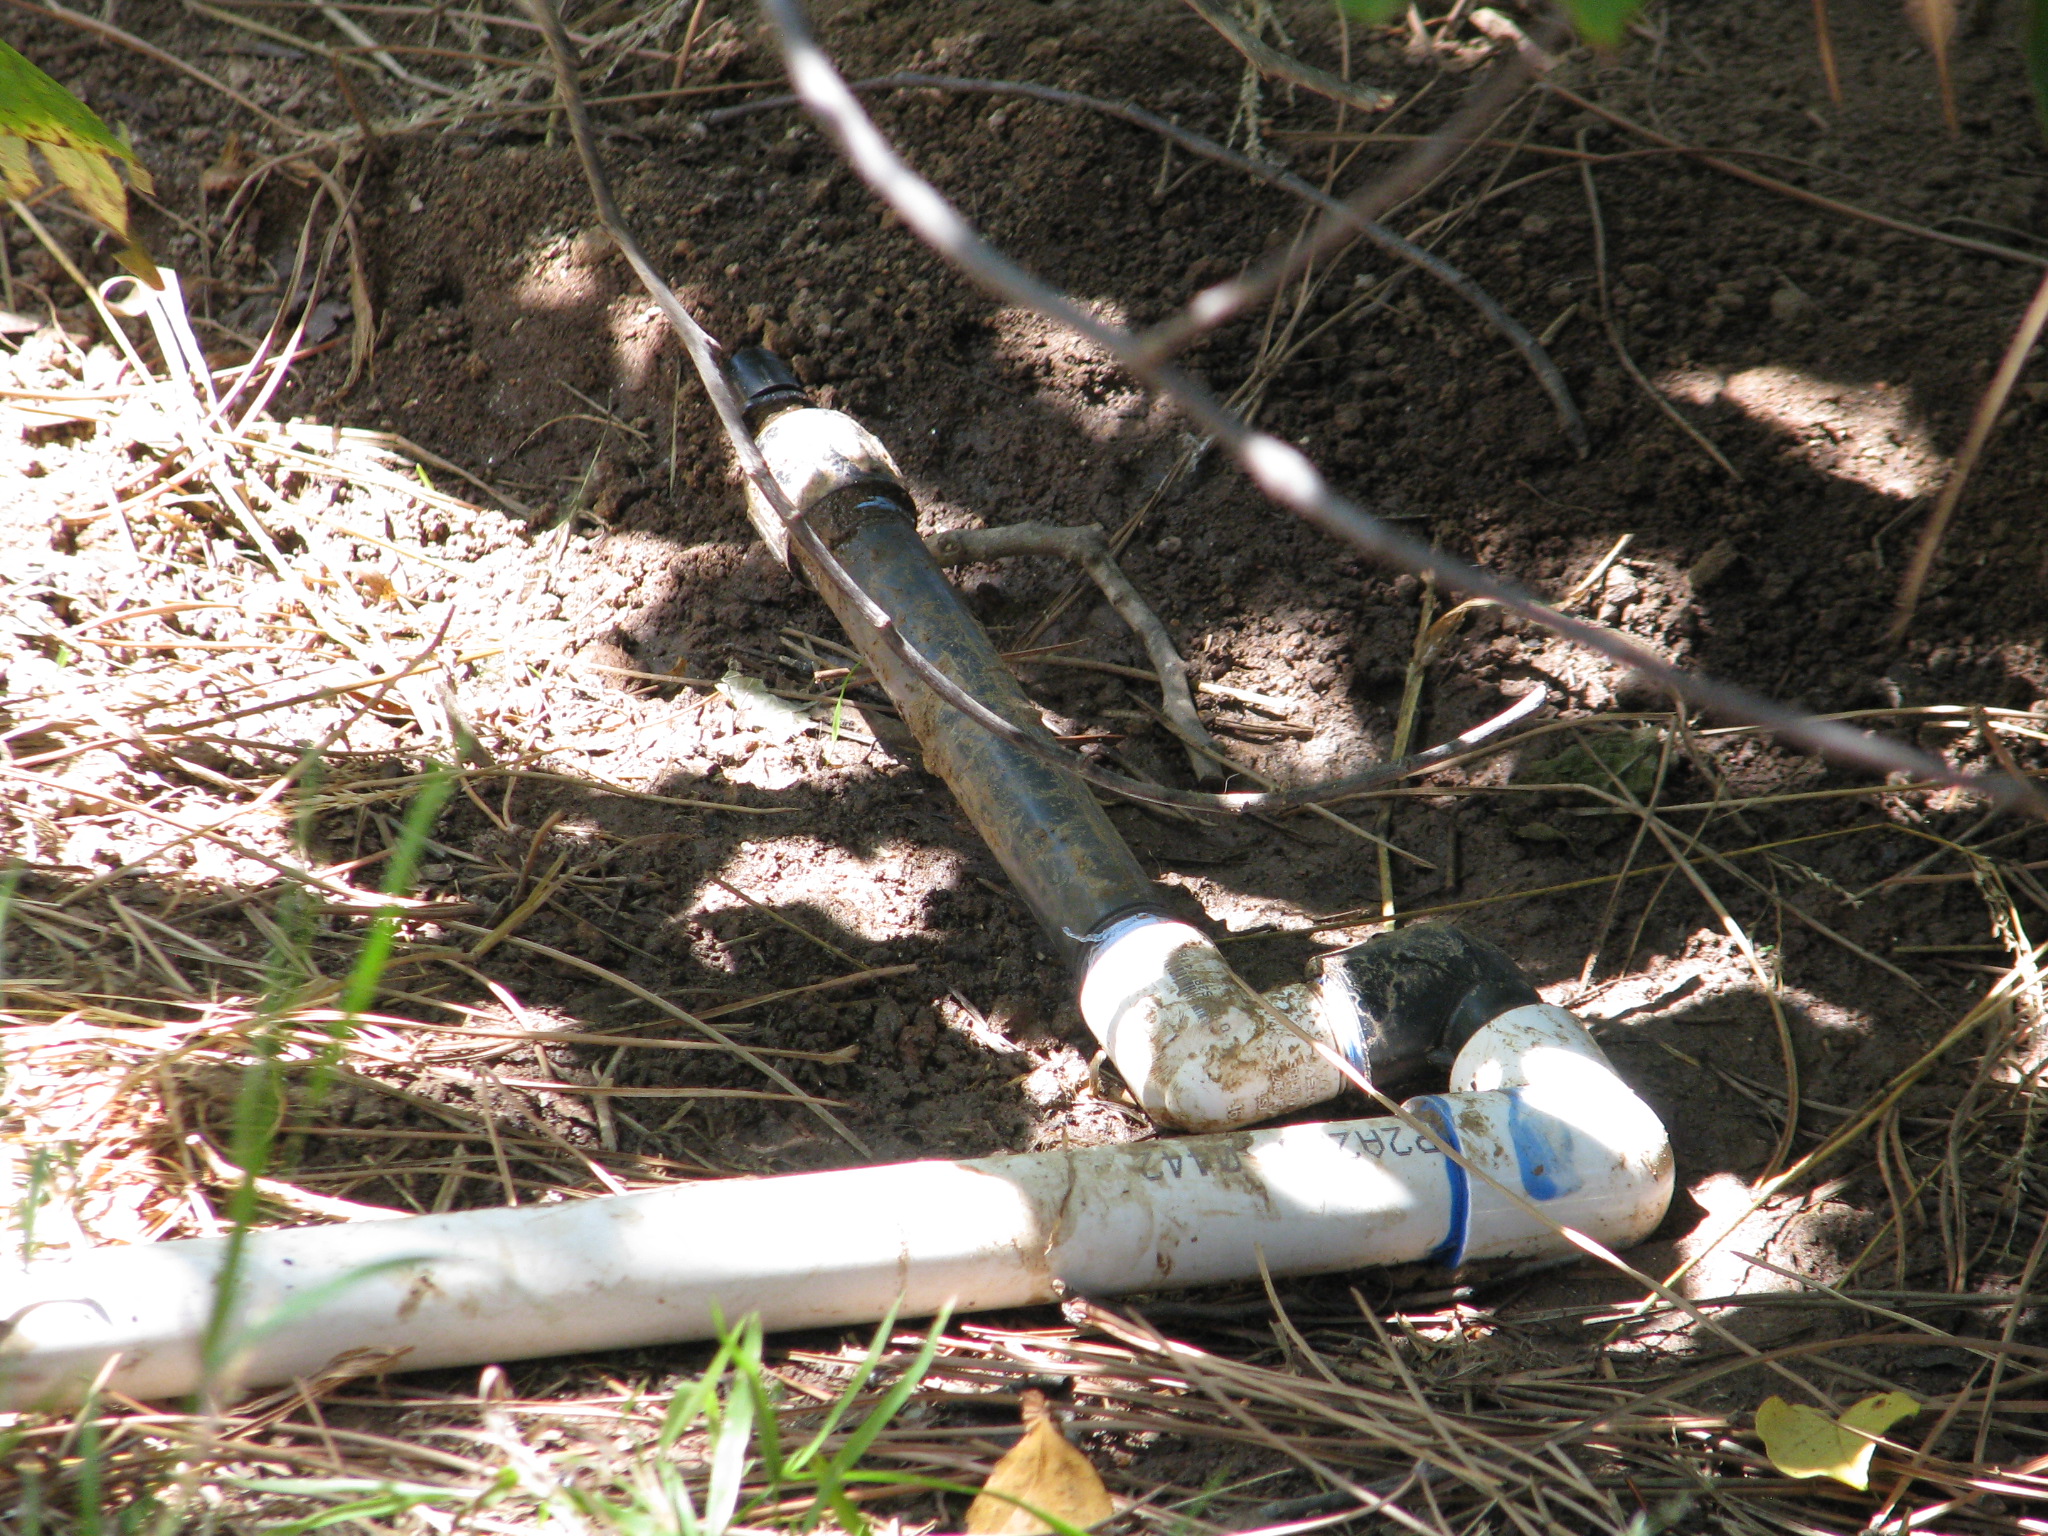
These risers can bend! With this configuration the risers are resistant to damage from being kicked, from having 100-lb. tortoises crawling over them, etc.

Gamera enjoying the movable sprinklers. They can be moved in all directions so that you can deliver water closer to small rooted new plants, then move them away as the root ball grows. If you have the assembly ready when you glue in the T, then you won’t have to struggle to screw it on. Ends will have a slip/thread elbow glued sideways with the same assembly.
There are lots of sprinkler heads out there. These sprayers have threaded ends rather than barbed, so that they stay in place rather than be blown off. These are 360 degree sprayers; you can obtain threaded sprayers for 180 and 90 degree, and probably other configurations as well.
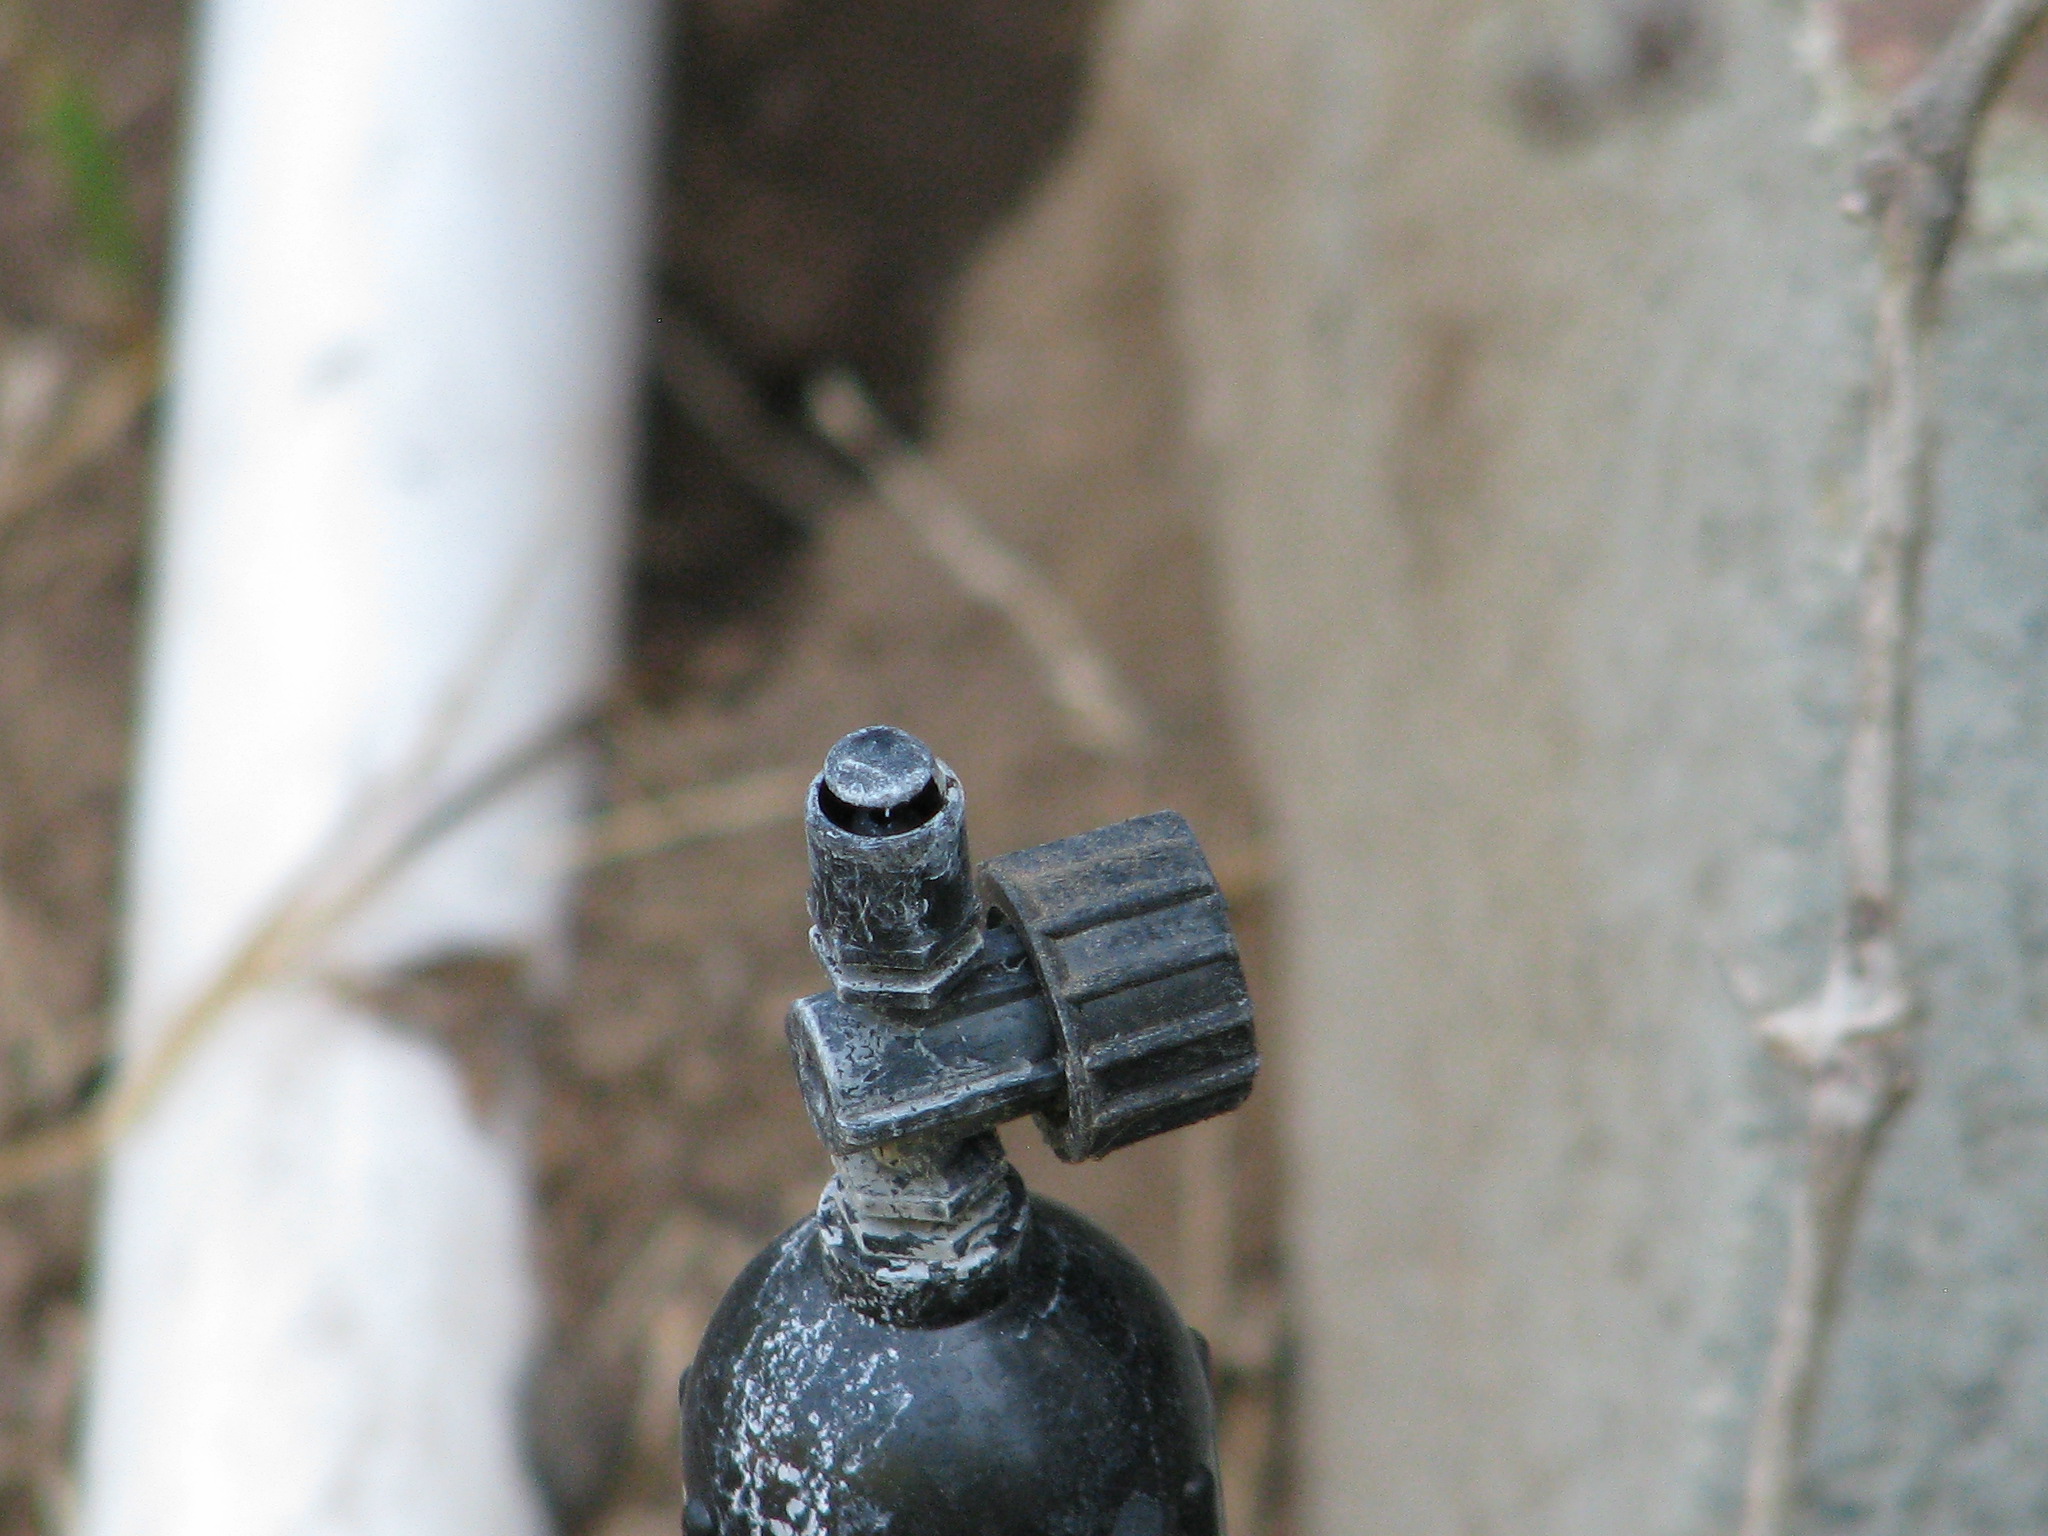
A 180 degree head. Notice all the white? That is mineral deposit, and the sprinkler has run only about 10 -15 times. Don’t forget the filter. A filter in every head saves you a lot of grief with plugged heads and poor irrigation down the line. They are easy to clean.
Next post: Concluding the project.
You can read Part 1 Options here, Part 2 Evaluating Your System here, and Part 4 Conclusion here.