Cob Oven Part Deux (and still not done)
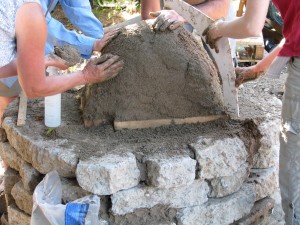
Today three members of the San Diego Permiculture Guild joined my daughter and I in another go at finishing the cob oven. We had only two hours in which to work on a warm morning which was rapidly turning into a hot day. With the base already built, we now needed to build a sand dome which would serve as the inside mold for the oven. Mixing sand with water until it clumped wasn’t as easy as it looked in the books, and it never really clumped. However, after a long effort the group did a fantastic job making a sand mound of correct dimensions.
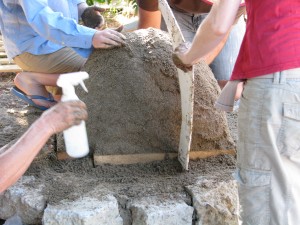
My daughter and I had made a template to show how high and round the sand should go, and eventually the sand dome became something of which Sir Christopher Wren himself would of been proud. It is a shame that after the cob is added the sand will be scooped out, but the hollow that is left will be perfect for the roiling flames of the fire, with no cold spots.
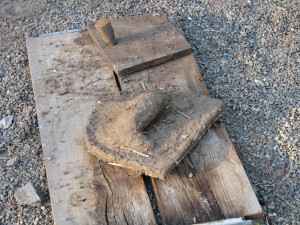
Our choices for a door was to make one out of wood with insulation on the inside, cut one out of the cob and then create one, or make one out of cob ahead of time and build around it. My daughter and I made one the day before, and albeit topheavy one, and propped it up so cob could be built around it.
The sand dome was then covered with wet newspaper for protection from the cob.

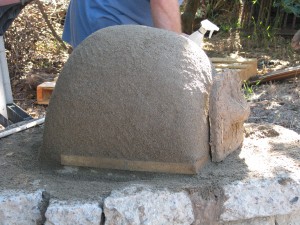
Next came the insulation layer, which was two parts sand to one part clay. No straw was added because it would catch fire. The mud we used was a batch in a wheelbarrow that had been worked (all the hard pieces either discarded or squished) by the group during the first oven building session. We kept it wet and covered so that the clay would soften. This became a problem, though, because the clay was already saturated when we worked in the sand. As the sides were beginning to be built, the cob was soft enough to bulge out at the sides. Thinking quickly, the group put pieces of wood around to use as a frame while I began mixing another batch from the rest of the mud in the wheelbarrow and sand, using my feet. Others leant their feet to the project.
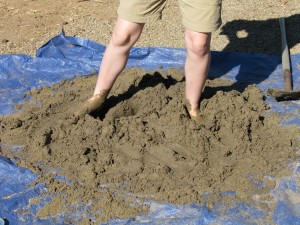
This batch was wet as well, but not as wet as the first batch.
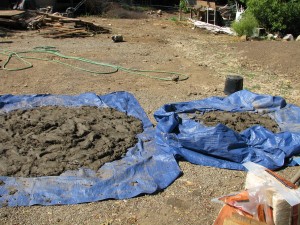
The theory was that since the clay was in water, the heavier particles sunk to the bottom displacing the water, and so the first batch of mud from the top of the wheelbarrow held more water than the second, lower batch. This made perfect sense.
When building the insulation layer, care must be taken not to press into the sand mound. The first layer of insulation should be 3-4 inches wide. Each layer must be pressed into the one beneath so that the cob is uniform and doesn’t dry in layers. At first it is built straight up, then gradually around the curve of the dome.
With only 45 minutes to go, and the sides bulging enough to prevent any more building, we opted to take out what was already built and start in again with the drier mud mixture. This, too, needed some wooden support, but it was by far easier to use than the first batch. The wetter mud was spread out on a tarp to dry out more in the sun.
With the time coming to a close we stopped, covered the mound with wet burlap and the mud with tarps. Perhaps the next time will bring about the finale of the oven, and the long-hoped for pizza!
